To Plant a Garden Is to Believe in Tomorrow

Every spring I am so grateful to be able to begin working in the garden and marvel at the circle of life again. And I love the quote accredited to Audrey Hepburn: “To plant a garden is to believe in tomorrow.” This year it seems even more apt…

I would imagine during these difficult times our gardens will be receiving much more attention this spring and rightly so. They should be cherished, loved and tendered, rather than forgotten about and neglected as we’re always too busy…

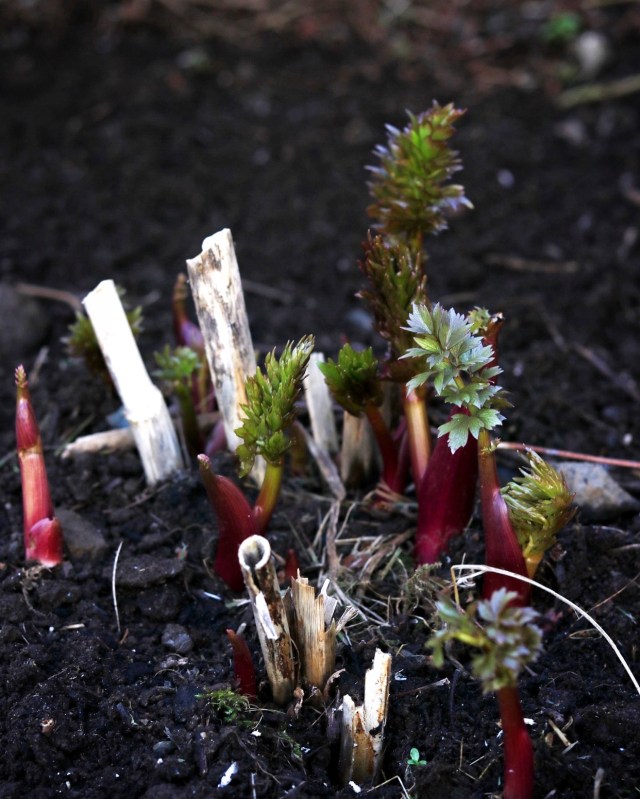
April is a wonderful time for gardeners. Everything is waking up after the long winter sleep and there are signs of new life everywhere. But it can also feel a bit overwhelming. Where to start? What to focus on? Especially if the garden has been neglected a little over the past year or so. Life just gets in the way sometimes…

I know the feeling well – when spring makes its appearance I always write a long list of things I would like to grow and do that year. And then, as time moves on and all of a sudden it is summer, things start slipping. Because summer is a very busy time in Shetland. We only get a small window of opportunity to enjoy our outdoors when it is at its best. So many things take priority over gardening.

From my own experience I would recommend finding two or three hours per week to spend working in your garden. It is not a huge amount of time but it should be enough, providing you follow one simple rule – little but often. Even if it’s just 15 minutes every day, I encourage you to get out there and do a little bit. And you will soon start seeing a difference. Gardening is also a brilliant way to clear your head and get a bit of exercise after a busy day at work, especially if you work in an office and spend most of your day sitting down. I love getting out in the evening after dinner, when the light is just sublime and everything seems so peaceful. 

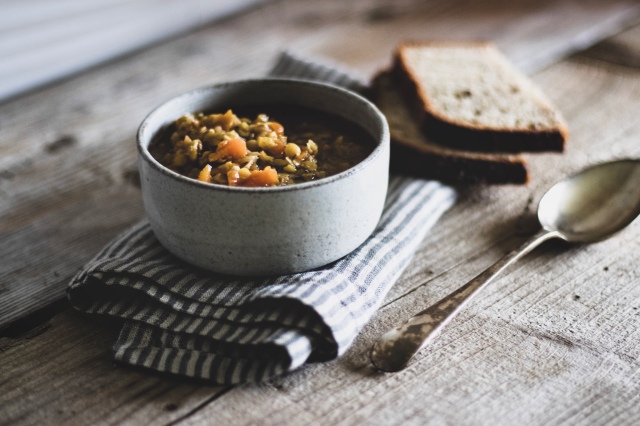
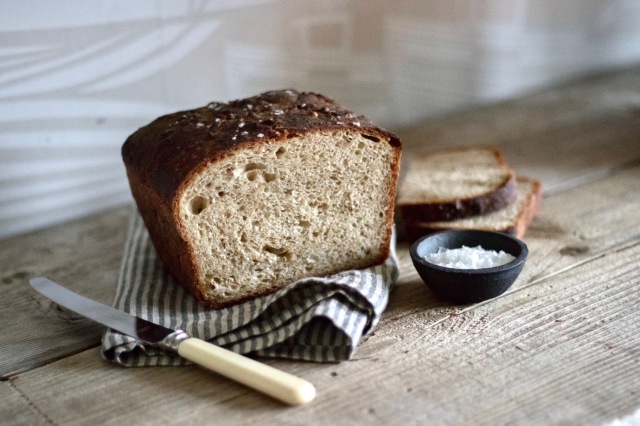
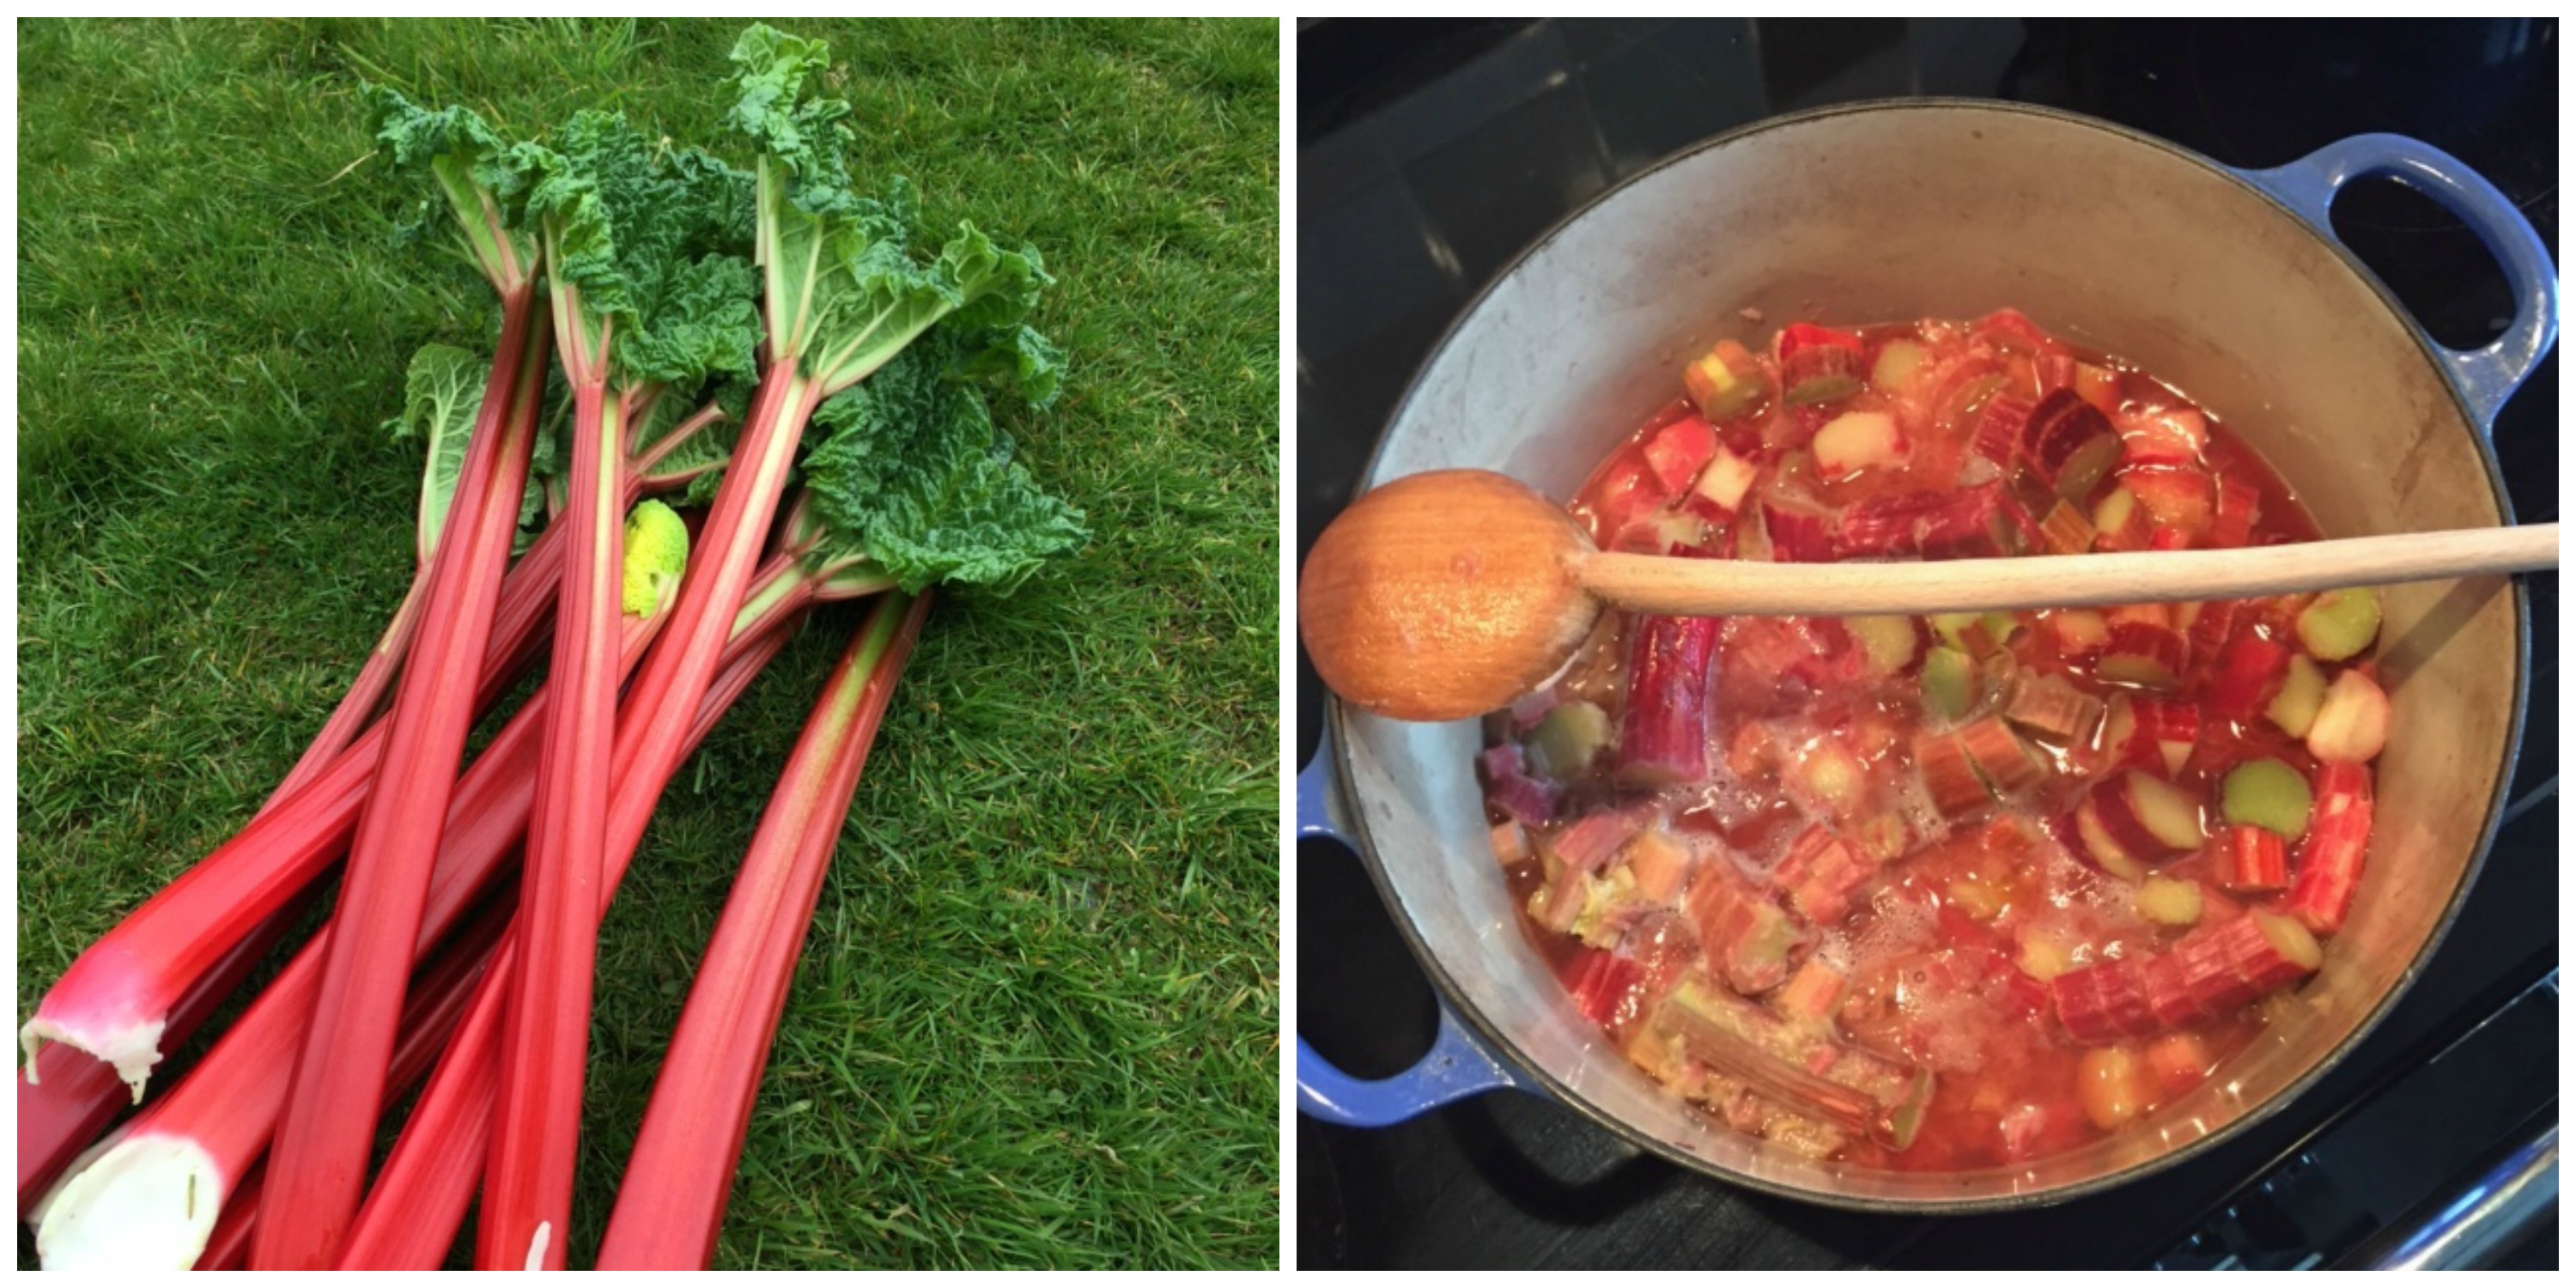
And then there are the rewards. Of course you’ll enjoy some lovely fresh produce but also you will find moments of calm and happiness. For me a cup of tea after a gardening session is one of the pleasures that money cannot buy. You see happiness is simple, and contrary to what we often think it needn’t cost a penny. We just have to slow down, look around ourselves and enjoy what we have rather than seek something new the whole time, or dream about things we cannot have.

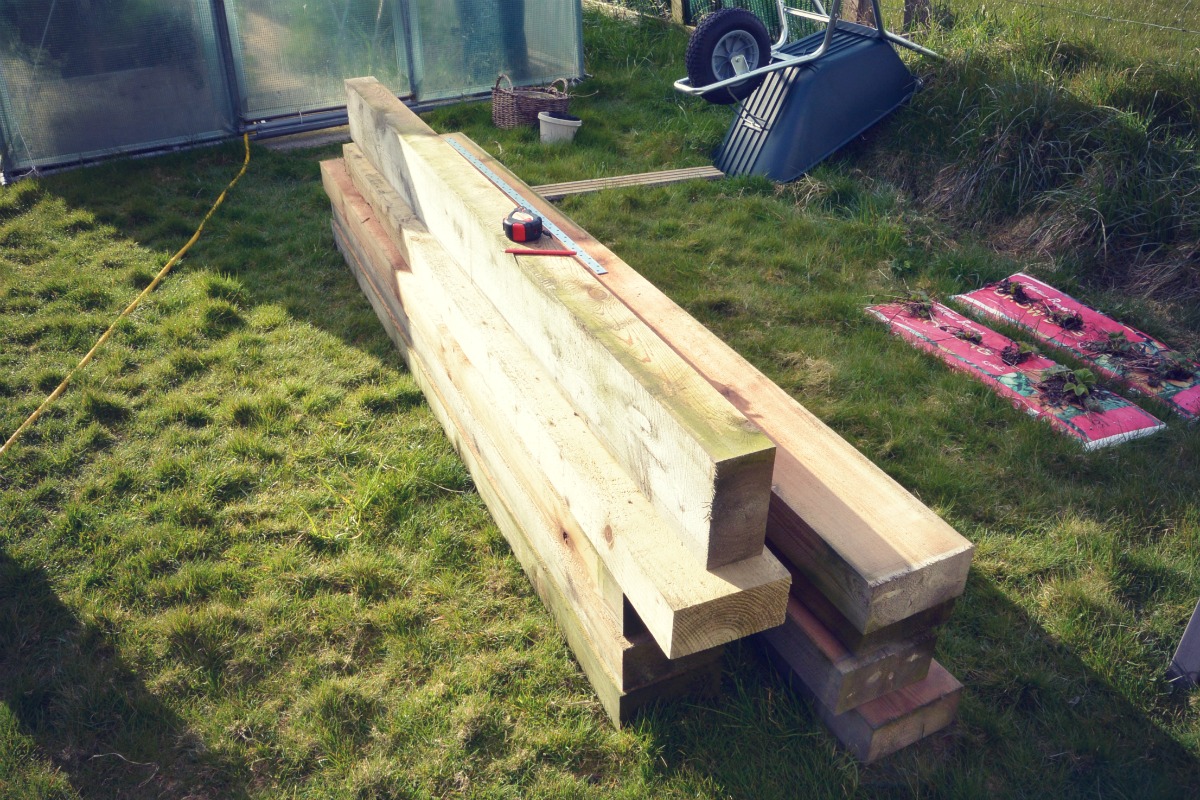
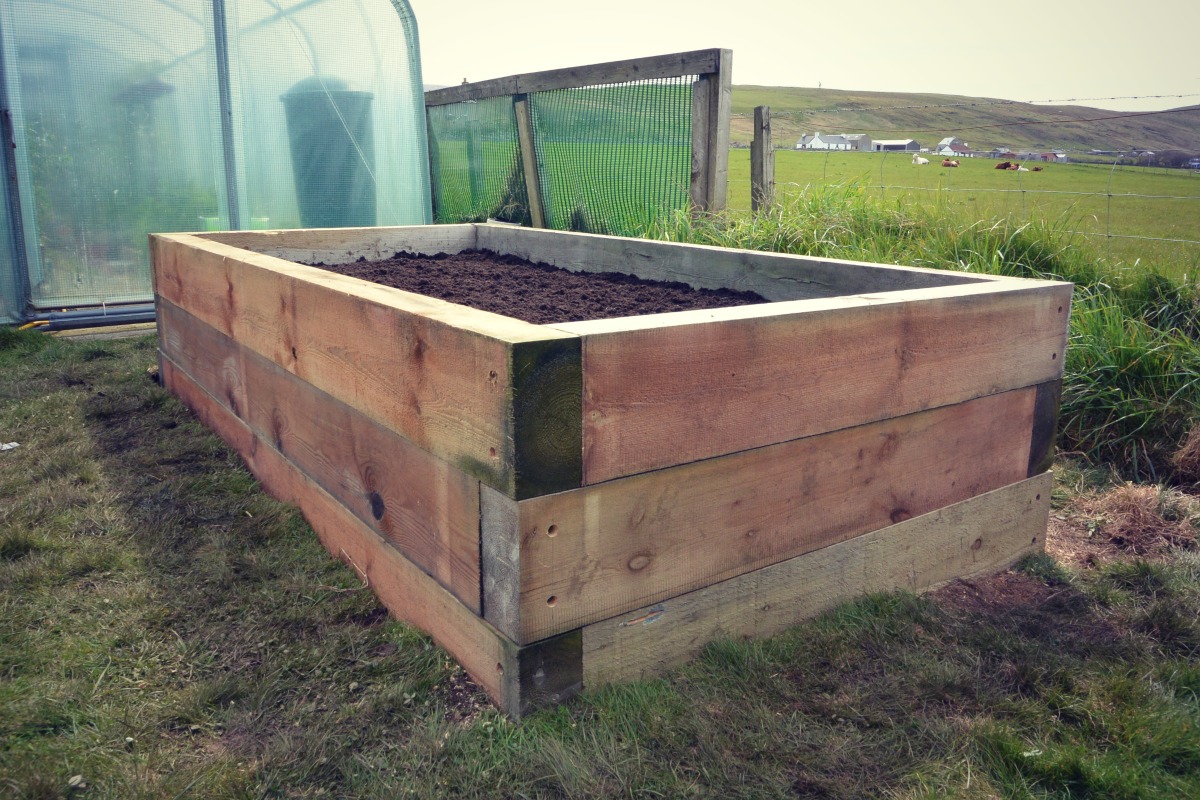
And if you are completely new to gardening you will probably wonder where to begin (just like I did when I moved to Shetland). My advice would be starting small. One or two raised beds is enough and you can experiment with what will grow well in your area and microclimate. Also it is a much less daunting prospect than starting a full size vegetable plot.

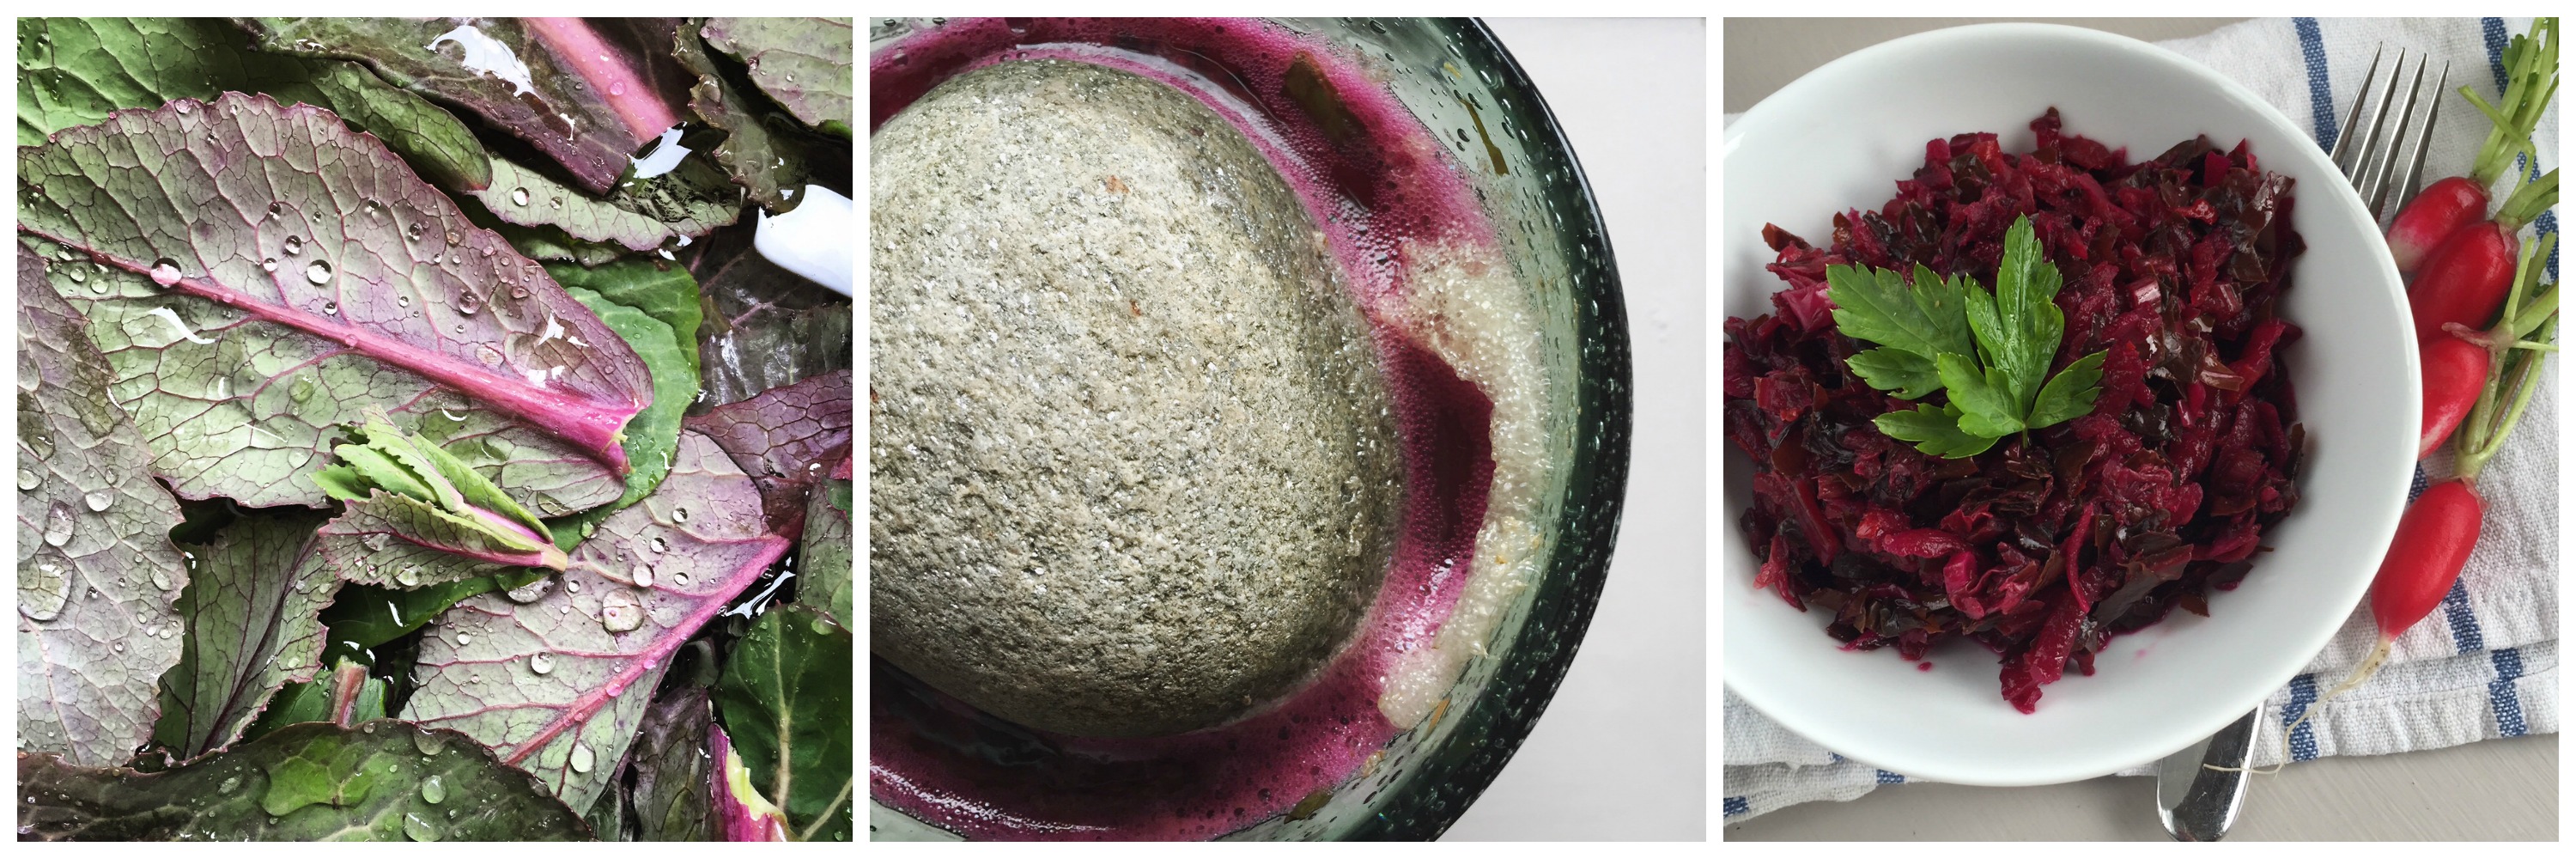
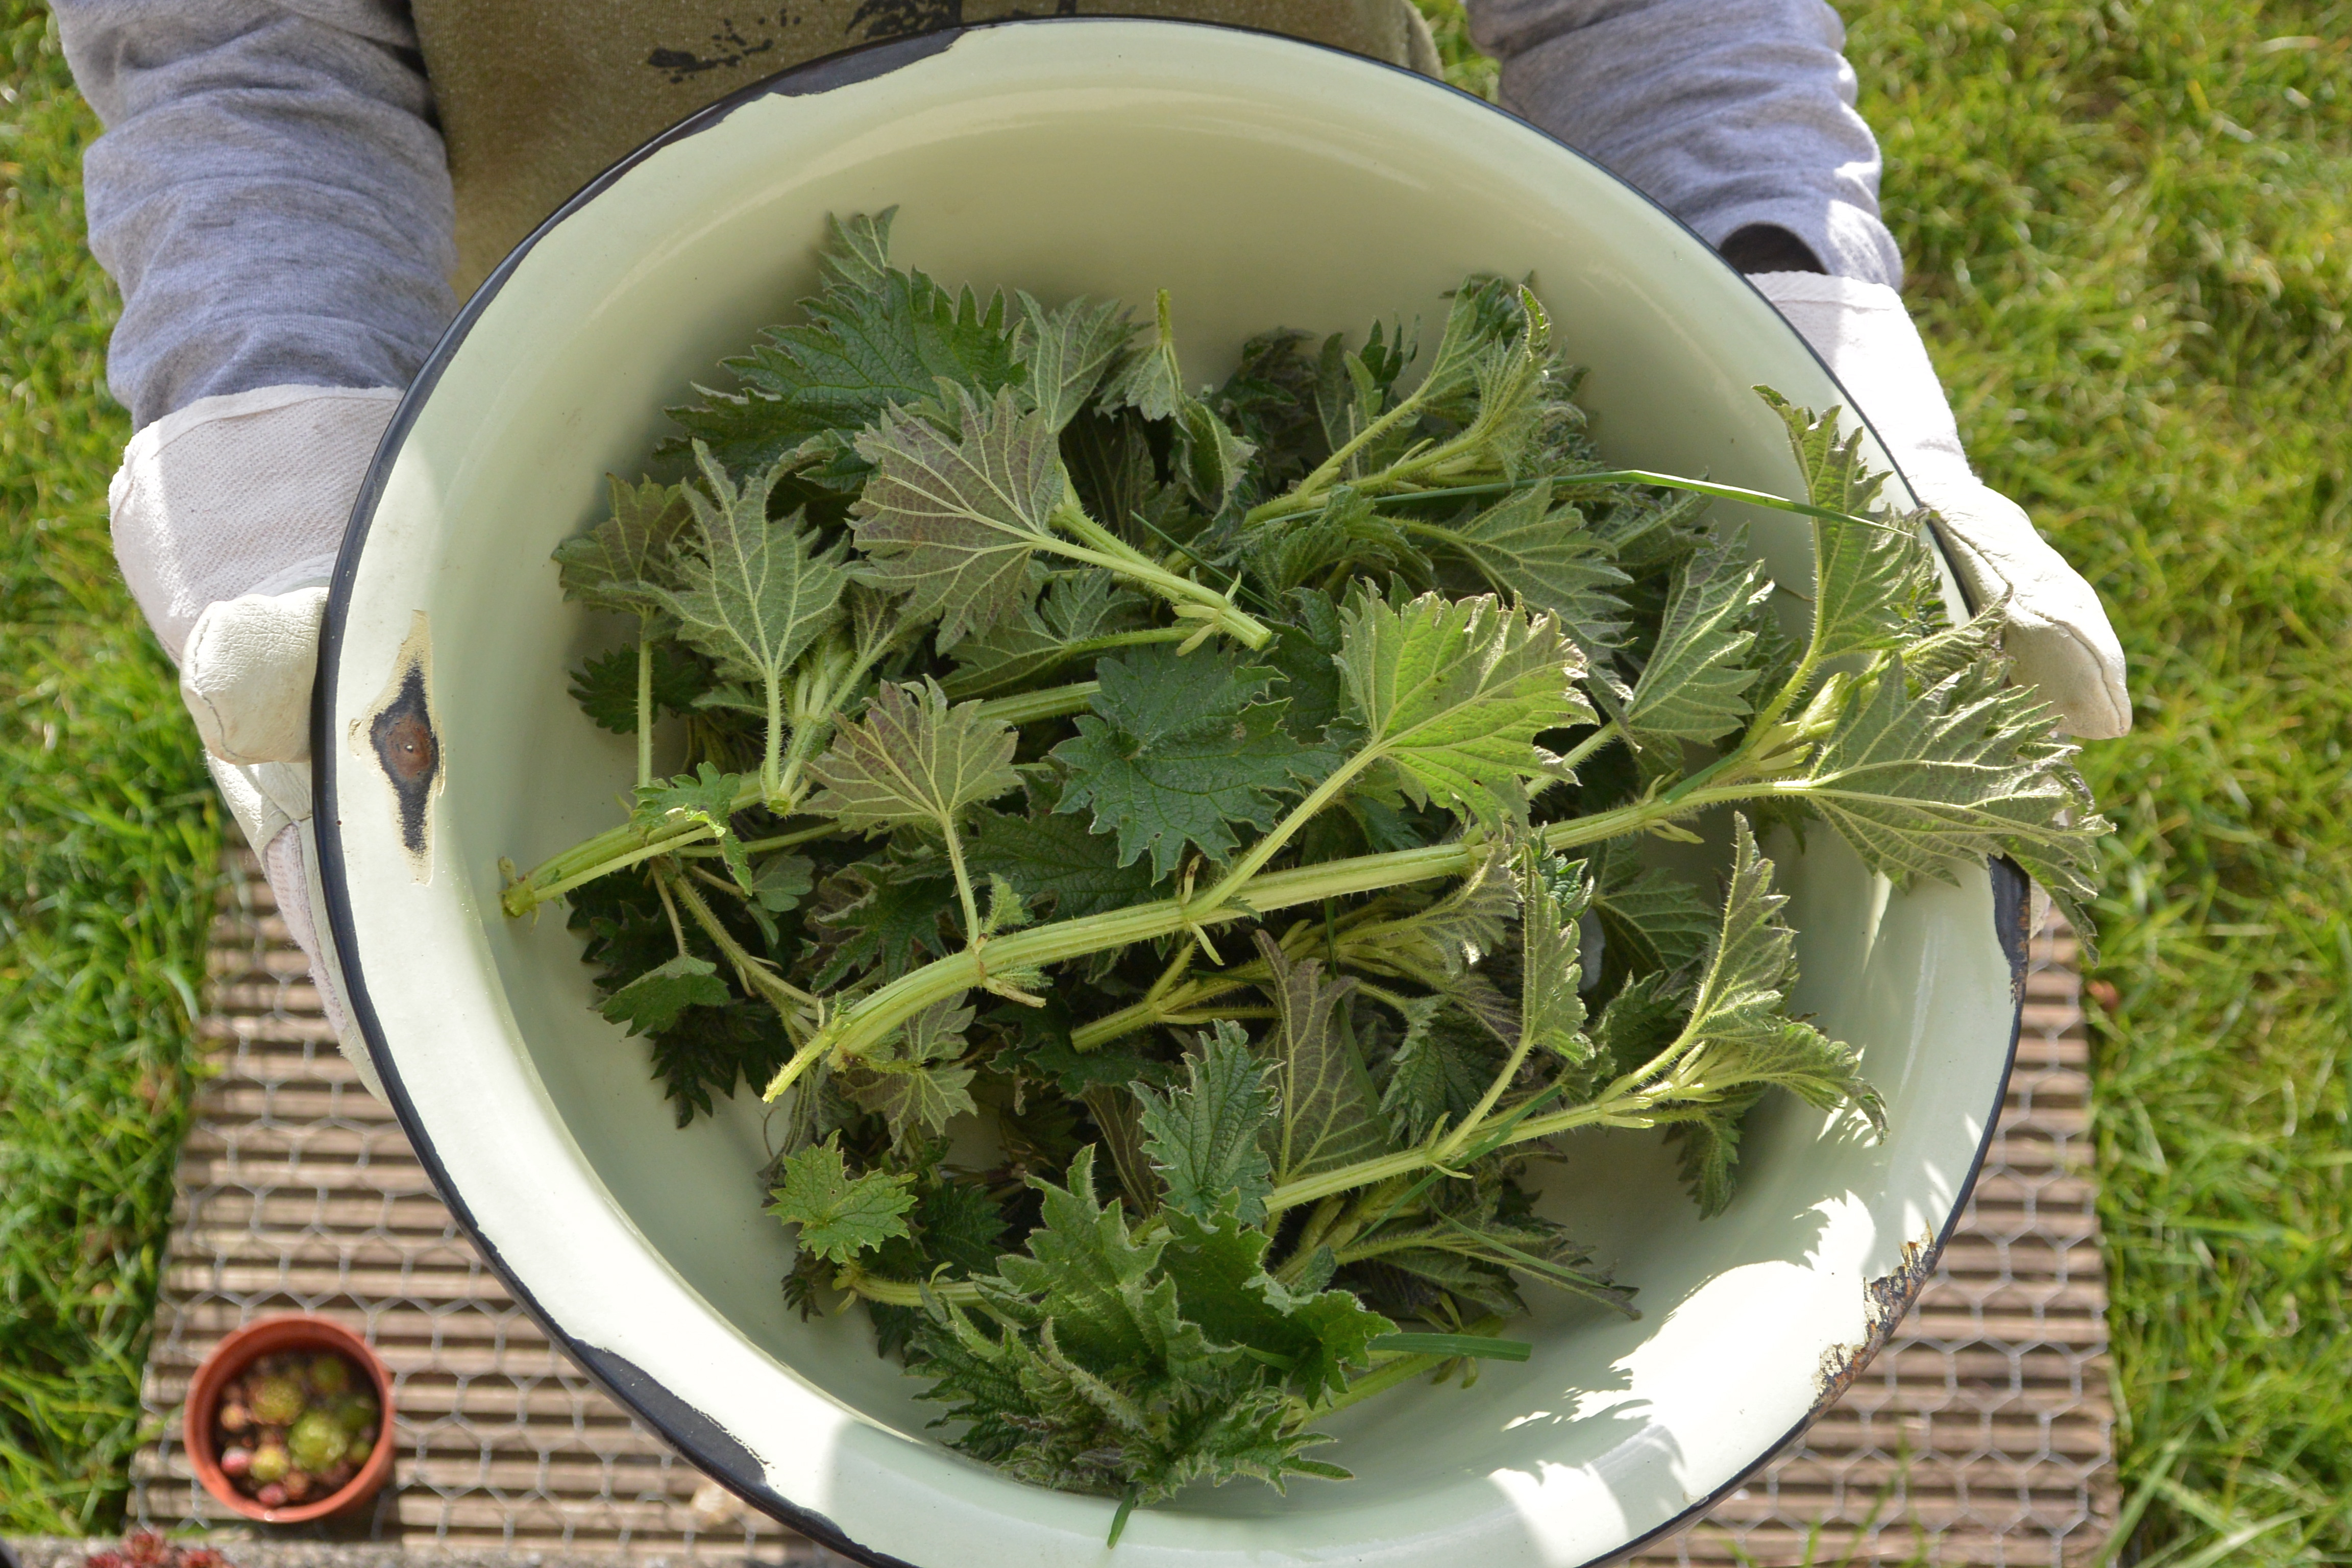
And remember anything you grow, however small, the harvest will make a big difference to you and the way you think of and appreciate food. All of a sudden you will think twice before you buy and throw away those supermarket bags of salad. Because growing food takes effort. A lot. But the rewards are enormous. 

Enjoy the spring and happy gardening!

For more inspiration from my Shetland Garden and from our beautiful isles you can follow me on Instagram.

Here is more growing inspiration and information:

Building a raised bed

How to start growing 

Grow your own garlic

Shetland kale

A visit to Transition Turriefield

Simple Banana Loaf

You know the feeling when you want to bake something nice and simple or quick and you can’t decide on a recipe or you can’t find one. For this reason I started a folder with my favourite fool proof recipes, and banana loaf is one of them.

And as today was one of those days when you can’t stop thinking about all sorts of scenarios and things seem gloomy, I decided rather than worrying, I would make use of my time in a better way and do something productive and enjoyable. I find baking, or simple cooking always helps to distract me and ease off the anxiety.

Maybe we should go back to basics and make or create something from scratch more often…

IMG_9695

Serves: 12 slices

Ingredients:

3 medium-sized ripe bananas

1 tsp lemon juice

100g muscovado sugar

75ml olive oil

5g butter for greasing the baking tin

150g self-raising flour

100g buckwheat flour (optional; if you prefer use 250g of self-raising flour only)

2 tsp ground cinnamon

¼ tsp freshly ground nutmeg

½ tsp baking powder

3 eggs

75g chopped walnuts

30.5 x 10.7 x 14 cm loaf tin or similar

Method:

Preheat the oven to 190°C/375°F ten minutes before baking. Grease the bottom and the sides of the baking tin with butter.

Mash two of the bananas in a large bowl, add the lemon juice, cinnamon, nutmeg and sugar and mix well.

Add olive oil and the eggs and mix again.

Sift both the flours and baking powder into the mixture stir the mixture well and finally add the chopped walnuts.

Pour the mixture into the prepared tin. Cut the last banana length-ways and arrange over the mixture.

Bake in the pre-heated oven for 50-55 minutes, or until well risen and golden brown.

Enjoy with a nice cup of tea or coffee.


Easy Comfort Food for Cold Days

It’s hard to believe it’s February already. Where did January go? It’s been a dark, fairly windy and wet start to the year for us but in the past fortnight the lengthening of the days has been a welcome sight.

To be fair though we’ve also had a handful of stunning days and we’ve managed to do a few great walks with my family. Some of you will know I love walking and for 2020 we have given ourself a challenge to do 20 walks we haven’t done yet. So far we’ve done two – one of them was Deepdale on the West side of Shetland. And it instantly became one of my most favourite walks. Here are some more photos from our recent adventures.

Deepdale

I’ve also enjoyed cooking simple comfort food and have been trying to use local ingredients as much as possible, especially as in winter the weather can disrupt the food deliveries to Shetland. I think we have become far too dependent on getting food shipped here rather than relying more on what we can produce and use locally.

Here are a couple of my favourite staple recipes for cold days that are easy enough to make and don’t require much in terms of ingredients.

I’m particularly happy with the loaf as it is very easy to make and requires a minimal amount of time to make. I love experimenting with sourdough but sometimes you need something quick, simple and bulletproof.

And the lentil soup is an absolute favourite served on my Shetland Wool Adventures tours. I often get asked for a recipe so finally here it is. Enjoy!

Lentil Soup

Lentil Soup_LR

Serves 8

Ingredients:

250g red lentils

1 tin of chopped tomatoes

3 medium onions

250g carrots

1.5l vegetable stock (or 2 stock cubes + 1.5l water)

4 tbsp olive oil

1 tbsp ground coriander

1 tbsp ground cumin

2 cloves of garlic

Salt and pepper

  1. Chop the onions finely and fry in olive oil. 
  2. Add finely chopped carrots and fry them for a few minutes with the onions
  3. Add the spices, salt and pepper
  4. Rinse the lentils under a running tap and add them to the pot. Stir for a few minutes.
  5. Add chopped tomatoes and chopped garlic
  6. Add stock and stir well. 
  7. Cook for 25 minutes. 

Now for your favourite texture – either you can leave the soup as it is, blitz it with a hand blender a little or you can blend it completely smooth if you prefer.

Serve with a dollop of yoghurt and chopped flat leaf parsley. And of course fresh crusty bread.

Easy Loaf

Easy bread_LR

400g strong white flour

80g wholemeal rye flour

60g wholemeal flour 

12g dried yeast 

10g salt

2 tbsp honey

1 tbsp coriander seeds (optional)

400ml lukewarm water

1tsp olive oil (for greasing the loaf tin)

24 x 14 x 7cm loaf tin

Put all dry ingredients in a bowl and add the water. Mix together until you have a nice smooth dough. There is no need to knead the dough at this stage. Place the bowl in a plastic bag (I have a dedicated one I keep using for making bread) and leave it in the fridge overnight. 

In the morning grease the loaf tin with olive oil. Tip the dough on a generously floured surface, knock the air out and knead for a short time. Place the kneaded mixture into the tin, cover loosely with the plastic bag and rest for approximately one hour in a warm place. Preheat the oven to 220°C fan oven, put the tin in and immediately reduce the temperature to 180°C. Bake for 35 minutes. Remove the loaf from the tin and place it directly onto the oven shelf and bake for further 10 minutes.

Note on the flour – you can really experiment here and see what works best for you. I like darker bread so I usually add wholemeal rye flour. If you prefer white loaf you can just use strong white flour.


Warm Kale Salad with Chickpeas & Sweet Potato

I love experimenting with produce from my garden and at the moment we’re still getting plenty curly kale and cavolo nero (Italian kale). Inspired by a recent trip to Denmark I put together this recipe for a warm kale salad with chickpeas, sautéed sweet potato, chopped apple and toasted seeds. And I loved the result! The best thing is that it tastes even better the second day!

Kale_MSG


Ingredients:

Serves 6

A bunch of curly kale (approximately 150g)

A bunch of cavolo nero (Italian kale) 

1 sweet potato

200g cooked chickpeas

50g pumpkin seeds

50g almonds

1 apple 

2 tbsp virgin olive oil

1 tbsp of good quality balsamic vinegar

Juice of half a lemon

Salt & pepper

2 tsp Middle-Eastern spice mix (SEE DETAILS BELOW)

Kale salad_MSG

Wash the kale, remove tough stalks, chop finely and set aside in a big bowl. Peel the sweet potato and cut up into 1x1cm cubes. In a small frying heat up olive oil and sauté the sweet potato until soft. Add drained cooked chickpeas and the Middle Eastern inspired spices. Add pumpkin seeds and almonds and sauté for five minutes or until all ingredients turn golden. At this point your kitchen will start smelling delicious.

Core the apple, cut up finely and set aside. Now it is assembling time: take your bowl of prepped kale and add a splash of good quality virgin olive oil, balsamic vinegar and lemon juice. Mix well and you can even massage the leaves gently as this will make them more tender. Add the cooked mixture of sweet potato, chickpeas and seeds and mix well. Add salt and pepper. The final step is adding the chopped apple which will really transform this salad. It will add sweetness and crunch.

The salad is delicious on its own or you can use it as a side with meat such as grilled pork chops or roasted chicken. It keeps well in the fridge without losing its crunchiness. You can warm it up in a microwave too.

Middle Eastern Spice Mix

Makes about 50g

3 tbsp cumin

3 tbsp coriander

2 tbsp sumac

2 tbsp ground cinnamon

1 tbsp smoked paprika

1 tbsp turmeric

I use my Nutribullet or a small blender to whizz the spices up into fine powder. Store in an airtight container.


Making snacking healthy

You know the feeling – you’re trying hard to eat well, limit your portions, exercise… it’s all great during the day, but come evening time things change. The irresistible urge to open the cupboard with snacks, crisps, just one slice of cake, a bar of chocolate… it all adds up to putting on those extra pounds that are so difficult the get rid off in the long term.

So here is a little recipe for a snack that should help to battle those cravings and in fact it is pretty healthy too – kale crisps.

Kale Chips

When we were in New York in July we bought a small box of curried kale crisps at Whole Foods for approximately $8.00 which I thought was pretty expensive but I wanted to try them. I thought they were pretty good and I wondered how to make them. It seemed impossible at the time that kale would crisp up like that.

Then I came across a lovely Instagram feed of a company that makes organic liqueurs which inspired me to giving it a go. And guess what – the crisps turned out pretty good. In fact I think I’m slightly addicted on them now.

The process is very simple:

1. Wash your curly kale, remove the stems and tear leaves into large pieces.

2. Rub one table spoon of olive oil into the leaves and season them.

3. Spread the leaves into one layer on a baking sheet.

4. Bake at 150°C for approximately 10 minutes.

My seasoning was a mixture of crushed cashew nuts, Tabasco, Indian curry powder and turmeric.

Delicious and healthy. And free since the curly kale seems to be growing in abundance in the garden this year.

How to make lacto-fermented vegetables

ferm4

You’ve probably heard of sauerkraut, kim chi or sour dill pickles. All these are lacto-fermented foods. Lacto-fermented vegetables are a light, refreshing accompaniment to everyday meals and they help to keep our digestive system in a good working order as they contain live bacteria that are good for our health. We usually think of bacteria as something that causes diseases. But our body is full of bacteria, both good and bad. And lacto-fermented vegetables are full of ‘good’ or ‘helpful’ bacteria.

Lacto-fermentation is a simple traditional process that was used for preserving vegetables for the winter. The process itself might not sound appetising but the health benefits of eating probiotic food with live Lactobacillus bacteria are huge. Sadly in the advent of modern food production this ancient method seems to have been forgotten but the good news is that it is growing in popularity again as more and more people discover the health benefits.

So what exactly is lacto-fermentation? First of all, to dispel the most common myth about lacto-fermentation, it doesn’t necessarily have anything to do with dairy. Instead, the ‘lacto’ refers to lactic acid. Lactic acid is a natural preservative that inhibits the growth of harmful bacteria. The “lacto” portion of the term also refers to a specific species of bacteria, namely Lactobacillus. Lactobacillus bacteria have the ability to convert sugars into lactic acid.  This strain is named so as it was first studied in milk ferments. The fermentation process releases a large amount of vitamin C, B and K and it also increases the bioavailability of nutrients rendering the fermented vegetables even more nutritious than the raw ones.

Most cultures around the world have some sort of fermented food that is a staple in their diet. Various studies have shown that 80% of our immune system is in our gut. The immune system deals with ageing, infection, disease, and general health. Consuming probiotic and enzyme rich foods helps us to build the immune system and aid digestion.

To find out more details about lacto-fermetation click here or here.

There are three types of lacto-fermenting: quick (3-4 hours), short term (3-4 days) and longer term (1 week or longer).  I tried the middle method and it worked perfectly.

All you need is: a large glass jar, vegetables of your choice and salt (approximately one tablespoon). I chose Shetland cabbage, Chinese  cabbage, carrots, beetroots, onions and a red pepper. After chopping and grating the vegetables and adding salt I used a big pot to ‘scrunch’ the vegetables up until liquid starts appearing. I also added some chilli flakes for an extra kick. Then pack the vegetables tightly into the jar and cover with a small saucer and weigh down with a stone. I also covered the jar with tin foil. Leave at room temperature for 4-5 days, then place into a smaller container and refrigerate.


Building a raised bed

Traditionally, vegetables are grown in long rows on flat soil with space between the rows for access. A raised bed is a concentrated growing area, higher than the surrounding ground, and its sides are usually constructed of wood. Or you can even set up a vegetable border that is every bit as attractive as a flower border. I’ve written more about raised beds and their advantages here.

A couple of weeks ago we decided to build the ultimate raised bed, inspired by our trip to Edinburgh and a visit to the Gallery of Modern Art and their beautiful walled kitchen garden.

edicollage1

For constructing the raised bed we bought nine sleepers (2.4m long, 200mm x 100mm) at a local builders merchants, it came to £155 including VAT. You’ll also need screws: 6-inch decking / hex head treated screws – 24 pieces and some galvanised brackets to hold the sleepers together. And here’s the process.

raisedbed1

Firstly measure out, clear and level the site the bed will occupy.

raisedbed2

The raised bed will be 1.2m by 2.4m, cut 3 sleepers in half to get the 1.2m lengths, take care doing this as it is essential to get a straight cut for a neat finish, now lay the first layer of sleepers in place, once you are happy with the level secure the sleepers together at the corners, repeat this process for the remaining layers, in our case it was a total of 3, now secure the layers of sleepers together with your choice of galvanised brackets, to ensure there is no chance of movement.

raisedbed3

raisedbed4

raisedbed5

Now backfill with some rubble etc, for drainage then top off with 150mm, or so top soil or your choice of compost.

raisedbed6

This post is for my wonderful friends Ruth and Helen and for anyone else who fancies giving it a go.

Refreshing nettle cordial 

As you know I’m a huge fan of nettles for their unbeatable health properties so I’ve decided to try making another interesting cordial.

I can’t imagine how it will taste but I’m looking forward to trying it in a week or so.

DSC_1702

A large mixing bowl full of freshly picked nettle tops, use young nettle leaves only

1kg granulated sugar

4 unwaxed lemons, zested and juiced

1l water

1. Bring water to the boil, add the sugar and the zest of all the lemons and stir until the sugar is dissolved. Take the syrup of the heat and leave it to cool down slightly.

2. Add the nettles and the lemon juice and cover with a tea towel.

3. Leave for one week in a cool place but make sure you stir the mixture daily.

4. Strain the liquid through a sieve and store in sterilised bottles in a dark cool place.


Rhubarb cordial

May is the start of the rhubarb season which also means the summer must be on its way.

In Shetland rhubarb seems to grow in every garden and you’ll also often find it around old abandoned crofthouses. Probably because it grows far better than anything else in these windswept islands, as Mary Prior writes in her wonderful Rhubarbaria, it formed an important part in the Shetland diet.

In the past I tried to grow rhubarb but unfortunately with not much success. Until the time when my neighbour dug out a piece of her rhubarb and gave it to me. Since then we’ve been enjoying this super versatile crop in abundance. And to get wonderfully crisp, vividly pink stalks we force the plants in the early spring by placing and old garden incinerator on them.

Rhubarb Collage

Yesterday, for a treat after a day spent by building a raised bed and tidying up the garden, we lifted the bucket and voilà, there it was – the first beautiful crop of the season. Inspired by a photo from Donna Smith’s lovely Instagram feed I decided to make a batch of rhubarb cordial.

Here’s the recipe:

1.5 kg chopped rhubarb

600g caster sugar

4 unwaxed lemons

1 vanilla pod

1. Place the rhubarb, halved vanilla pod and lemon zest in a pan with 100ml water over a low heat. To zest the lemon I use a potato peeler which makes the job really easy. And it fills your kitchen with a wonderful uplifting smell too! Cook slowly until the juices start coming out of the rhubarb, then turn the heat up a little. Continue cooking until completely soft and mushy.

2. Put a sieve in a large mixing bowl and line it with a piece of clean muslin or a tea towel. Ladle in the rhubarb and leave it to drain for several hours or overnight.

3. Measure the juice: for every litre add approximately 600g caster sugar. Pour into a pan on a medium heat and stir to dissolve the sugar. Turn off the heat before it boils. Add lemon juice, pour into sterilised bottles and seal.

4. Serve 1 part cordial with 4 parts sparkling water and don’t forget to add slices of lemon for an extra zing. Or even better – for a special summer treat add it to your Prosecco!

Cheers!

Rhubarb Collage 2

And if you have lots of rhubarb here are some more recipes to try: Rhubarb schnapps, Rhubarb, ginger & orange jam or the slightly more unusual pickled rhubarb recipe by my favourite chef and cookbook author Diana Henry.

How to start growing vegetables: Start small

A lot of people think they don’t have anywhere to to grow. The truth is you don’t need a big garden to grow your vegetables. If you are quite new to growing or if you only have a small space available I’d recommend starting small. One or two raised beds is a great start, as you can experiment with what will grow well in your area and microclimate, and also it is a much less daunting prospect than starting a vegetable plot. And remember anything you grow however small will make a huge difference to you and the way you think of and appreciate food. All of a sudden you will think twice before you buy and throw away those bags of salad. Because growing your food takes a lot of effort. But the the rewards are far greater. So get growing this year.

Traditionally, vegetables are grown in long rows on flat soil with space between the rows for access. A raised bed is a concentrated growing area, higher than the surrounding ground, and its sides are usually constructed of wood. Or you can even set up a vegetable border that is every bit as attractive as a flower border.

raised_bed_8raised_bed_6

There are many advantages to growing your crops in raised beds:

– if your soil is poor or indeed if you lack top soil, which can be the case in some areas, you can fill your bed with good quality soil or garden compost appropriate for your crops.

position – the ideal vegetable growing area is south-facing and sunny without too much shade. With a raised bed you can find the best position in your garden.

drainage – this can be a real problem in our area so you can add some gravel to the bottom of your raised be to ensure it is free draining.

depth – you can decide how deep you want your raised beds to be which is particularly useful when growing root vegetables.

yield – in a small area you can grow small numbers of different crops and generally the yield his higher than from a traditional plot.

maintenance and weeding – due to easier accessibility weeding and looking after your bed should be really straightforward. Remember little and often is the trick.

raised_bed_4raised_bed_3raised_bed_5

Building and maintaining a raised bed

You can buy a ready-to-assemble DIY raised beds but generally they are quite expensive and it is not difficult to make your own. We usually use 6″ x 2″ pressure treated timber and the ideal width of your bed is no more than 1.2m for easy access. The length is entirely up to you.

There are also many alternatives to raised beds like fish boxes, any kind of larger shallow containers or tubs. Growbags are a cheap and effective way of growing tomatoes or strawberries but they will soon run out of nutrients so a good quality fertiliser is a necessity. I only use organic fertiliser or quite often I’d make my own from seaweed, comfrey or nettles. Or you can try growing potatoes in special potato sacks.

One disadvantage of raised beds or containers is that they dry out more quickly than open-ground beds you will have to keep watering them regularly. Mulching helps to prevent evaporation and it is also a good way of suppressing weeds.

raised_bed_2raised_bed_7

The raised beds above are in our garden. Sadly the photos below are not but they are a great inspiration. They show a vegetable garden at The Royal Highland Show in 2013.

raised_bed_9raised_bed_10

So will you give it a go?  Let me know how you get on or if you have any tips. Happy growing!