How to make lacto-fermented vegetables

ferm4

You’ve probably heard of sauerkraut, kim chi or sour dill pickles. All these are lacto-fermented foods. Lacto-fermented vegetables are a light, refreshing accompaniment to everyday meals and they help to keep our digestive system in a good working order as they contain live bacteria that are good for our health. We usually think of bacteria as something that causes diseases. But our body is full of bacteria, both good and bad. And lacto-fermented vegetables are full of ‘good’ or ‘helpful’ bacteria.

Lacto-fermentation is a simple traditional process that was used for preserving vegetables for the winter. The process itself might not sound appetising but the health benefits of eating probiotic food with live Lactobacillus bacteria are huge. Sadly in the advent of modern food production this ancient method seems to have been forgotten but the good news is that it is growing in popularity again as more and more people discover the health benefits.

So what exactly is lacto-fermentation? First of all, to dispel the most common myth about lacto-fermentation, it doesn’t necessarily have anything to do with dairy. Instead, the ‘lacto’ refers to lactic acid. Lactic acid is a natural preservative that inhibits the growth of harmful bacteria. The “lacto” portion of the term also refers to a specific species of bacteria, namely Lactobacillus. Lactobacillus bacteria have the ability to convert sugars into lactic acid.  This strain is named so as it was first studied in milk ferments. The fermentation process releases a large amount of vitamin C, B and K and it also increases the bioavailability of nutrients rendering the fermented vegetables even more nutritious than the raw ones.

Most cultures around the world have some sort of fermented food that is a staple in their diet. Various studies have shown that 80% of our immune system is in our gut. The immune system deals with ageing, infection, disease, and general health. Consuming probiotic and enzyme rich foods helps us to build the immune system and aid digestion.

To find out more details about lacto-fermetation click here or here.

There are three types of lacto-fermenting: quick (3-4 hours), short term (3-4 days) and longer term (1 week or longer).  I tried the middle method and it worked perfectly.

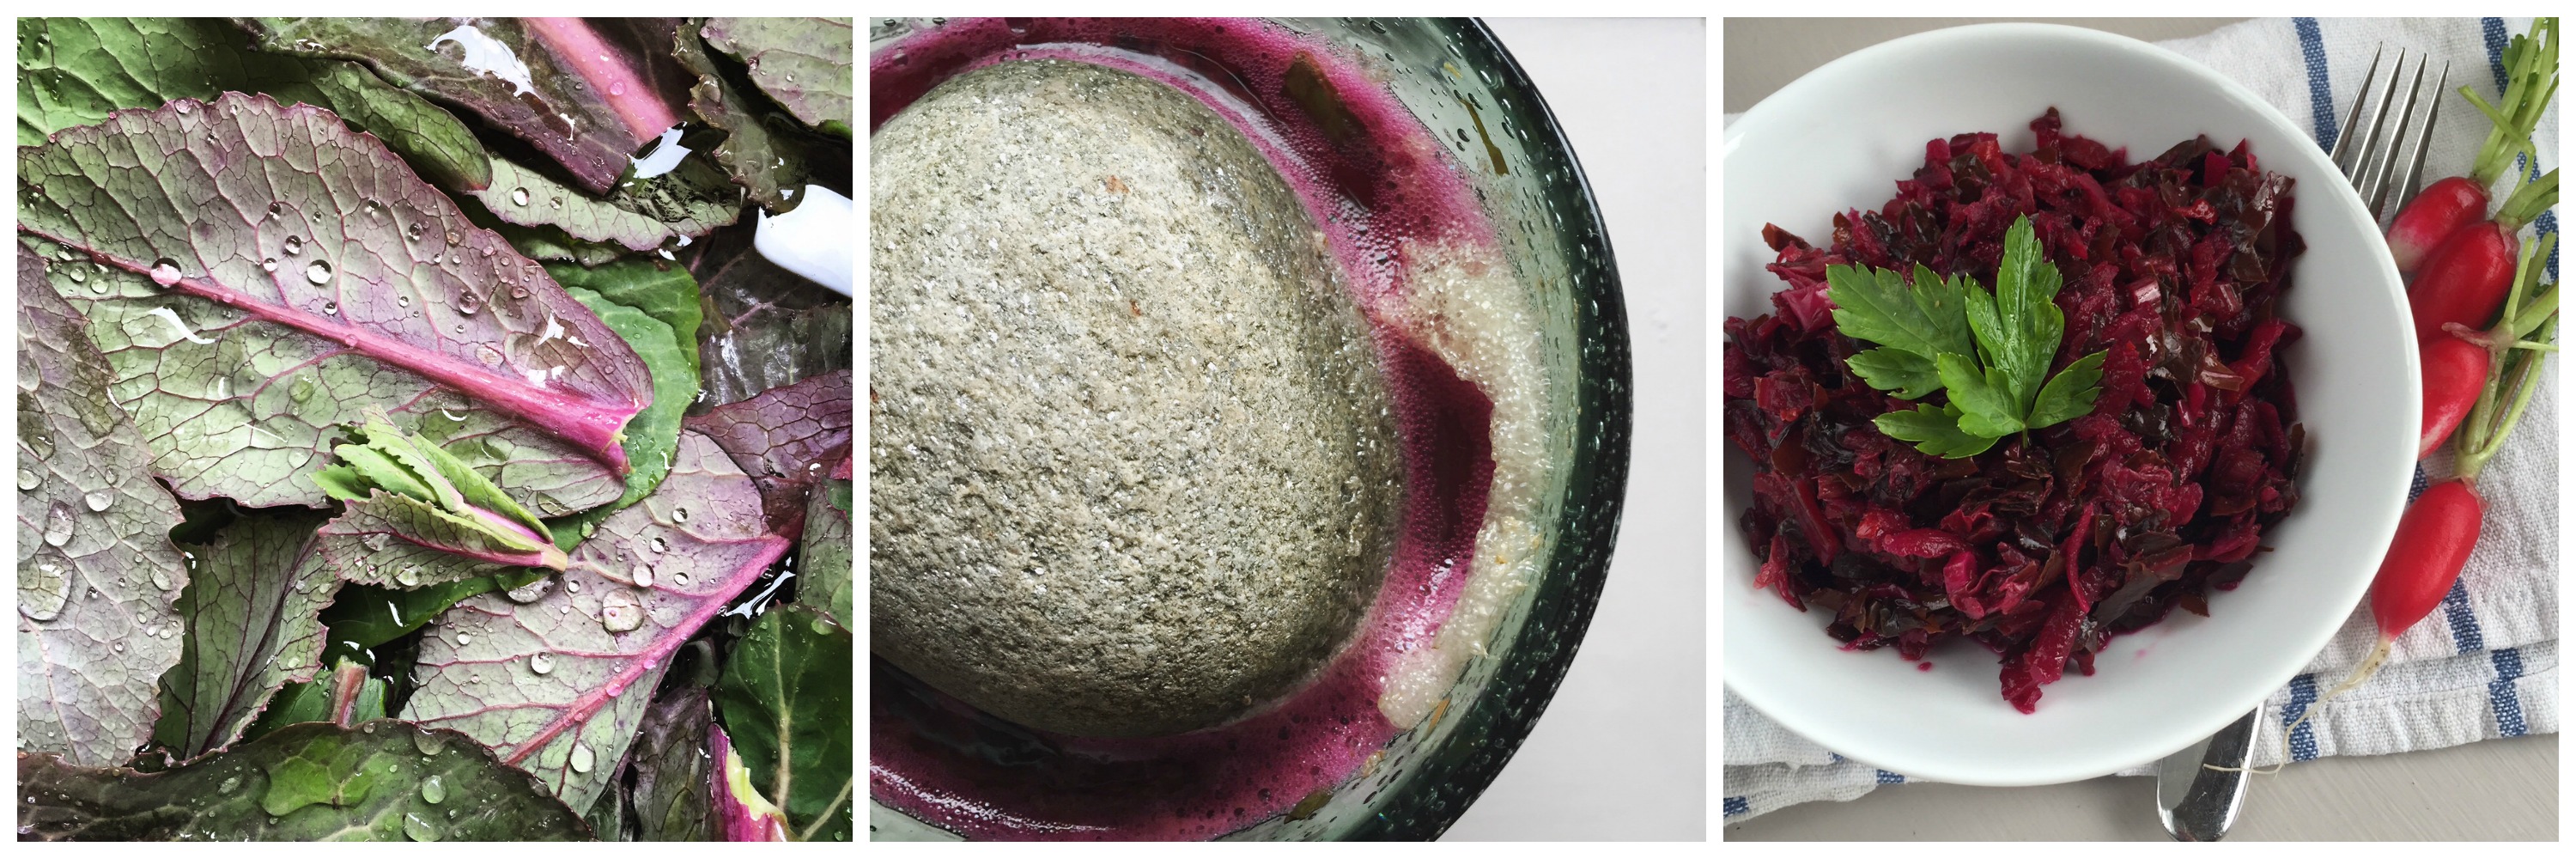
All you need is: a large glass jar, vegetables of your choice and salt (approximately one tablespoon). I chose Shetland cabbage, Chinese  cabbage, carrots, beetroots, onions and a red pepper. After chopping and grating the vegetables and adding salt I used a big pot to ‘scrunch’ the vegetables up until liquid starts appearing. I also added some chilli flakes for an extra kick. Then pack the vegetables tightly into the jar and cover with a small saucer and weigh down with a stone. I also covered the jar with tin foil. Leave at room temperature for 4-5 days, then place into a smaller container and refrigerate.


Building a raised bed

Traditionally, vegetables are grown in long rows on flat soil with space between the rows for access. A raised bed is a concentrated growing area, higher than the surrounding ground, and its sides are usually constructed of wood. Or you can even set up a vegetable border that is every bit as attractive as a flower border. I’ve written more about raised beds and their advantages here.

A couple of weeks ago we decided to build the ultimate raised bed, inspired by our trip to Edinburgh and a visit to the Gallery of Modern Art and their beautiful walled kitchen garden.

edicollage1

For constructing the raised bed we bought nine sleepers (2.4m long, 200mm x 100mm) at a local builders merchants, it came to £155 including VAT. You’ll also need screws: 6-inch decking / hex head treated screws – 24 pieces and some galvanised brackets to hold the sleepers together. And here’s the process.

raisedbed1

Firstly measure out, clear and level the site the bed will occupy.

raisedbed2

The raised bed will be 1.2m by 2.4m, cut 3 sleepers in half to get the 1.2m lengths, take care doing this as it is essential to get a straight cut for a neat finish, now lay the first layer of sleepers in place, once you are happy with the level secure the sleepers together at the corners, repeat this process for the remaining layers, in our case it was a total of 3, now secure the layers of sleepers together with your choice of galvanised brackets, to ensure there is no chance of movement.

raisedbed3

raisedbed4

raisedbed5

Now backfill with some rubble etc, for drainage then top off with 150mm, or so top soil or your choice of compost.

raisedbed6

This post is for my wonderful friends Ruth and Helen and for anyone else who fancies giving it a go.

Refreshing nettle cordial 

As you know I’m a huge fan of nettles for their unbeatable health properties so I’ve decided to try making another interesting cordial.

I can’t imagine how it will taste but I’m looking forward to trying it in a week or so.

DSC_1702

A large mixing bowl full of freshly picked nettle tops, use young nettle leaves only

1kg granulated sugar

4 unwaxed lemons, zested and juiced

1l water

1. Bring water to the boil, add the sugar and the zest of all the lemons and stir until the sugar is dissolved. Take the syrup of the heat and leave it to cool down slightly.

2. Add the nettles and the lemon juice and cover with a tea towel.

3. Leave for one week in a cool place but make sure you stir the mixture daily.

4. Strain the liquid through a sieve and store in sterilised bottles in a dark cool place.


Rhubarb cordial

May is the start of the rhubarb season which also means the summer must be on its way.

In Shetland rhubarb seems to grow in every garden and you’ll also often find it around old abandoned crofthouses. Probably because it grows far better than anything else in these windswept islands, as Mary Prior writes in her wonderful Rhubarbaria, it formed an important part in the Shetland diet.

In the past I tried to grow rhubarb but unfortunately with not much success. Until the time when my neighbour dug out a piece of her rhubarb and gave it to me. Since then we’ve been enjoying this super versatile crop in abundance. And to get wonderfully crisp, vividly pink stalks we force the plants in the early spring by placing and old garden incinerator on them.

Rhubarb Collage

Yesterday, for a treat after a day spent by building a raised bed and tidying up the garden, we lifted the bucket and voilà, there it was – the first beautiful crop of the season. Inspired by a photo from Donna Smith’s lovely Instagram feed I decided to make a batch of rhubarb cordial.

Here’s the recipe:

1.5 kg chopped rhubarb

600g caster sugar

4 unwaxed lemons

1 vanilla pod

1. Place the rhubarb, halved vanilla pod and lemon zest in a pan with 100ml water over a low heat. To zest the lemon I use a potato peeler which makes the job really easy. And it fills your kitchen with a wonderful uplifting smell too! Cook slowly until the juices start coming out of the rhubarb, then turn the heat up a little. Continue cooking until completely soft and mushy.

2. Put a sieve in a large mixing bowl and line it with a piece of clean muslin or a tea towel. Ladle in the rhubarb and leave it to drain for several hours or overnight.

3. Measure the juice: for every litre add approximately 600g caster sugar. Pour into a pan on a medium heat and stir to dissolve the sugar. Turn off the heat before it boils. Add lemon juice, pour into sterilised bottles and seal.

4. Serve 1 part cordial with 4 parts sparkling water and don’t forget to add slices of lemon for an extra zing. Or even better – for a special summer treat add it to your Prosecco!

Cheers!

Rhubarb Collage 2

And if you have lots of rhubarb here are some more recipes to try: Rhubarb schnapps, Rhubarb, ginger & orange jam or the slightly more unusual pickled rhubarb recipe by my favourite chef and cookbook author Diana Henry.