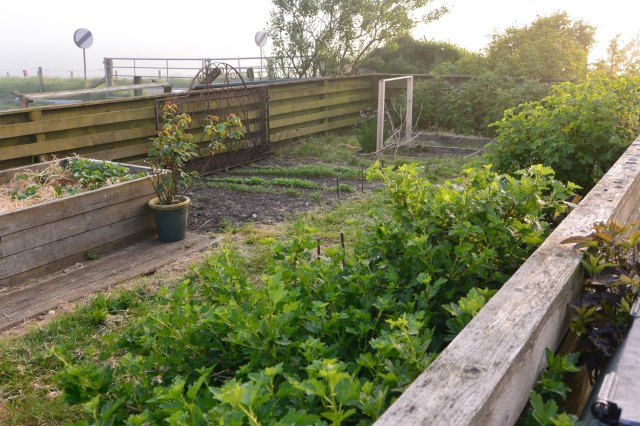
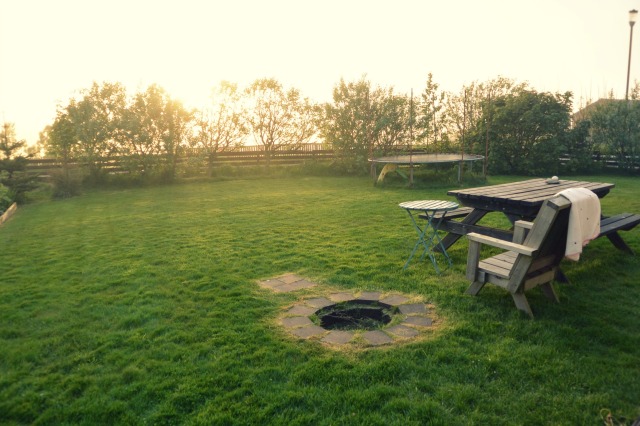
To Plant a Garden Is to Believe in Tomorrow

Every spring I am so grateful to be able to begin working in the garden and marvel at the circle of life again. And I love the quote accredited to Audrey Hepburn: “To plant a garden is to believe in tomorrow.” This year it seems even more apt…

I would imagine during these difficult times our gardens will be receiving much more attention this spring and rightly so. They should be cherished, loved and tendered, rather than forgotten about and neglected as we’re always too busy…

April is a wonderful time for gardeners. Everything is waking up after the long winter sleep and there are signs of new life everywhere. But it can also feel a bit overwhelming. Where to start? What to focus on? Especially if the garden has been neglected a little over the past year or so. Life just gets in the way sometimes…

I know the feeling well – when spring makes its appearance I always write a long list of things I would like to grow and do that year. And then, as time moves on and all of a sudden it is summer, things start slipping. Because summer is a very busy time in Shetland. We only get a small window of opportunity to enjoy our outdoors when it is at its best. So many things take priority over gardening.
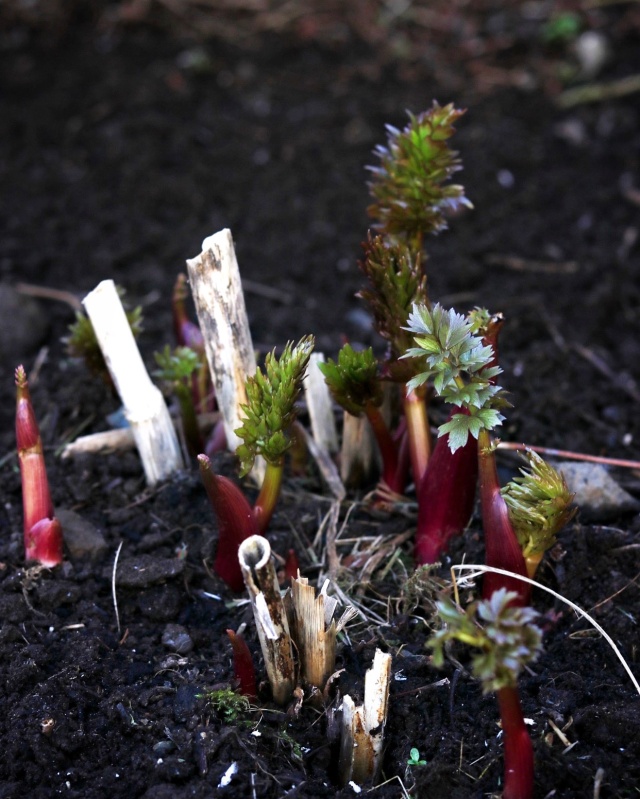
From my own experience I would recommend finding two or three hours per week to spend working in your garden. It is not a huge amount of time but it should be enough, providing you follow one simple rule – little but often. Even if it’s just 15 minutes every day, I encourage you to get out there and do a little bit. And you will soon start seeing a difference. Gardening is also a brilliant way to clear your head and get a bit of exercise after a busy day at work, especially if you work in an office and spend most of your day sitting down. I love getting out in the evening after dinner, when the light is just sublime and everything seems so peaceful. 

And then there are the rewards. Of course you’ll enjoy some lovely fresh produce but also you will find moments of calm and happiness. For me a cup of tea after a gardening session is one of the pleasures that money cannot buy. You see happiness is simple, and contrary to what we often think it needn’t cost a penny. We just have to slow down, look around ourselves and enjoy what we have rather than seek something new the whole time, or dream about things we cannot have.
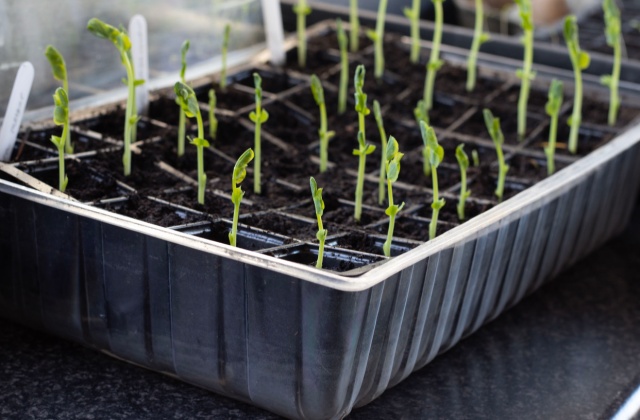
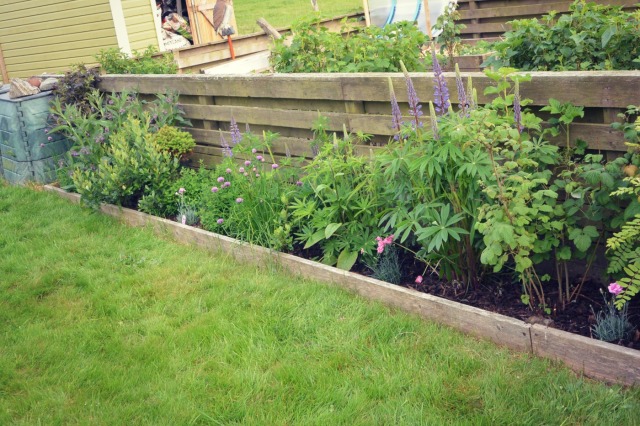
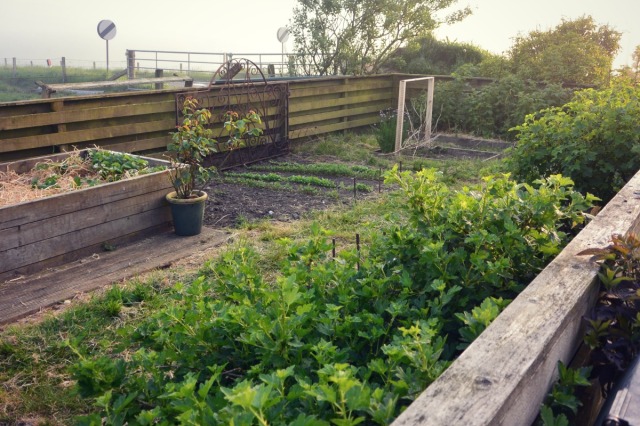
And if you are completely new to gardening you will probably wonder where to begin (just like I did when I moved to Shetland). My advice would be starting small. One or two raised beds is enough and you can experiment with what will grow well in your area and microclimate. Also it is a much less daunting prospect than starting a full size vegetable plot.

And remember anything you grow, however small, the harvest will make a big difference to you and the way you think of and appreciate food. All of a sudden you will think twice before you buy and throw away those supermarket bags of salad. Because growing food takes effort. A lot. But the rewards are enormous. 

Enjoy the spring and happy gardening!

For more inspiration from my Shetland Garden and from our beautiful isles you can follow me on Instagram.

Here is more growing inspiration and information:
Building a raised bed

How to start growing 

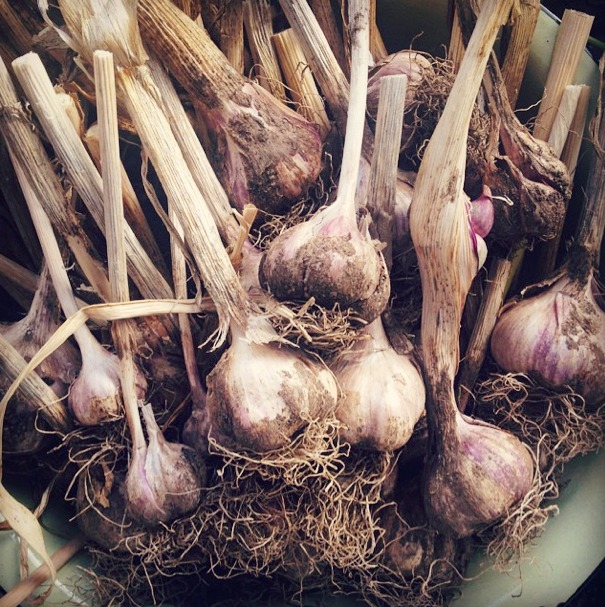
Grow your own garlic

Shetland kale

A visit to Transition Turriefield

Building a raised bed

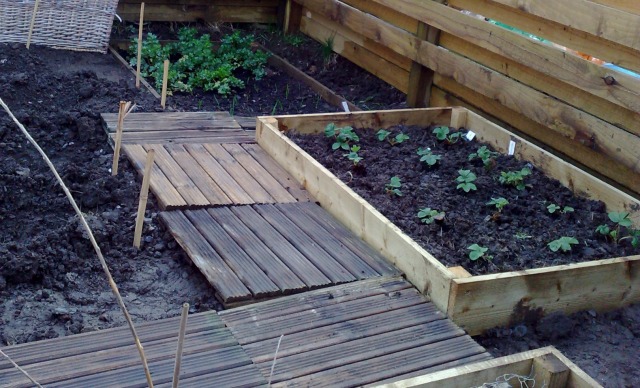
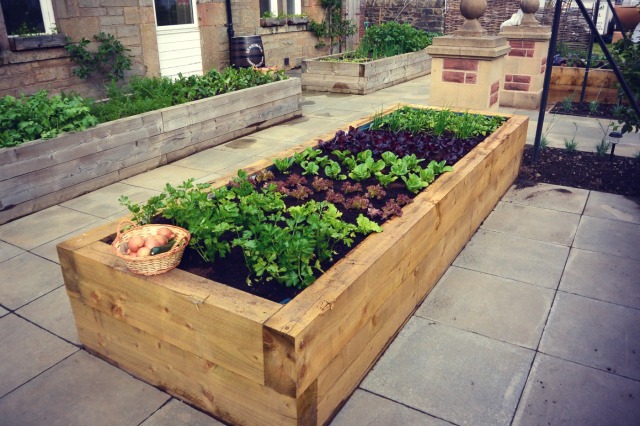
Traditionally, vegetables are grown in long rows on flat soil with space between the rows for access. A raised bed is a concentrated growing area, higher than the surrounding ground, and its sides are usually constructed of wood. Or you can even set up a vegetable border that is every bit as attractive as a flower border. I’ve written more about raised beds and their advantages here.

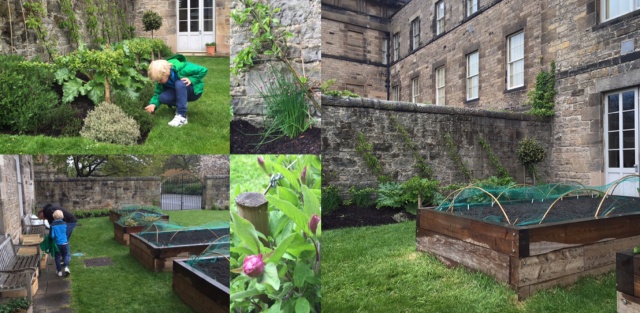
A couple of weeks ago we decided to build the ultimate raised bed, inspired by our trip to Edinburgh and a visit to the Gallery of Modern Art and their beautiful walled kitchen garden.

edicollage1

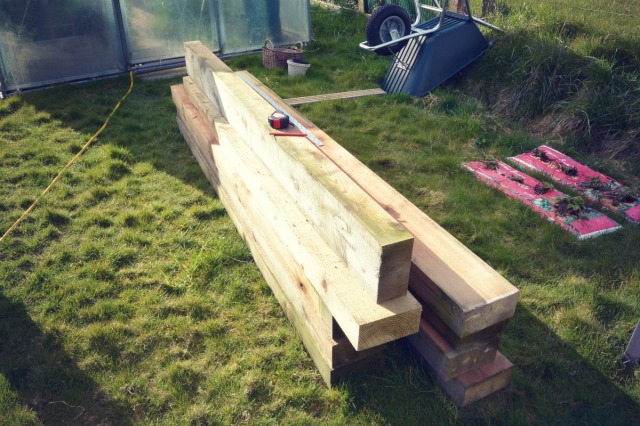
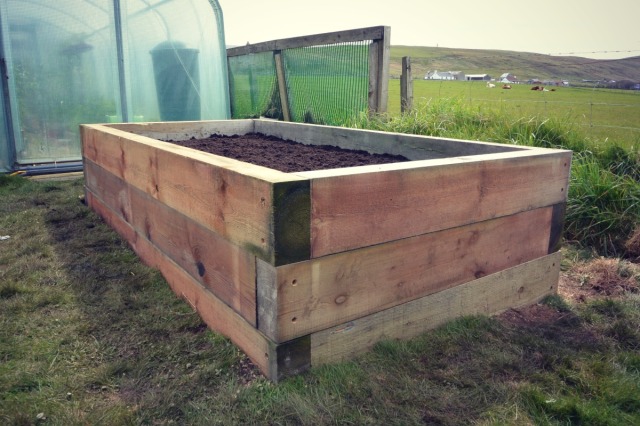
For constructing the raised bed we bought nine sleepers (2.4m long, 200mm x 100mm) at a local builders merchants, it came to £155 including VAT. You’ll also need screws: 6-inch decking / hex head treated screws – 24 pieces and some galvanised brackets to hold the sleepers together. And here’s the process.

raisedbed1

Firstly measure out, clear and level the site the bed will occupy.

raisedbed2

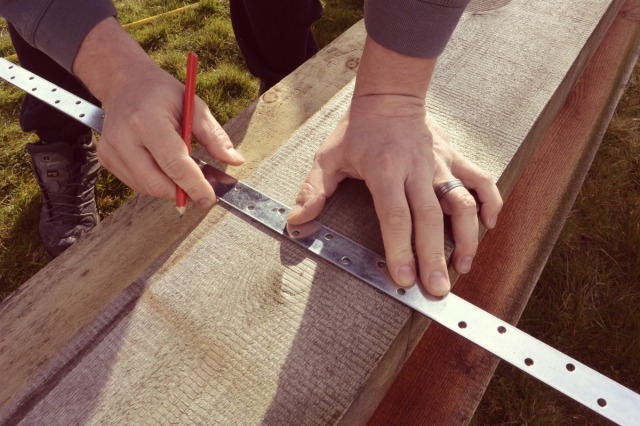
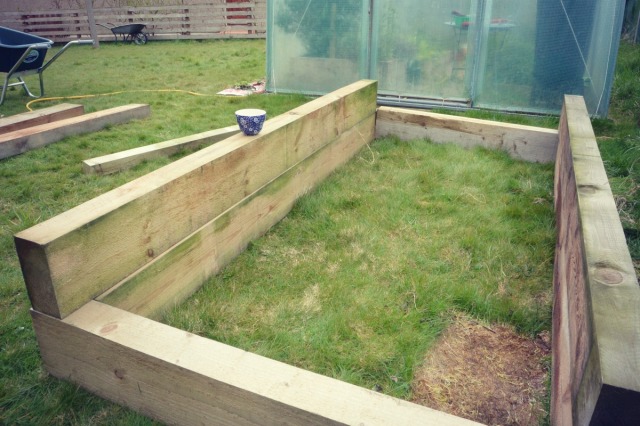
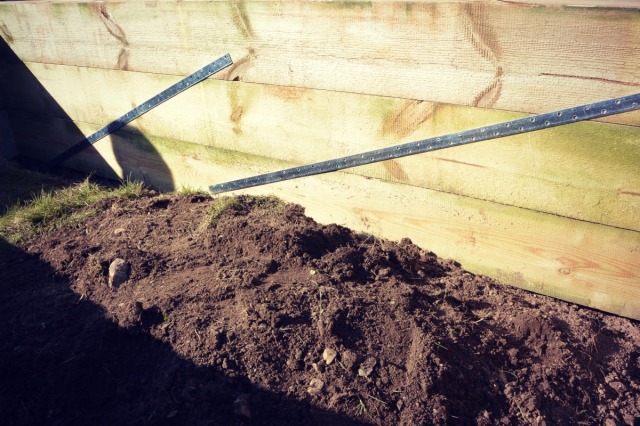
The raised bed will be 1.2m by 2.4m, cut 3 sleepers in half to get the 1.2m lengths, take care doing this as it is essential to get a straight cut for a neat finish, now lay the first layer of sleepers in place, once you are happy with the level secure the sleepers together at the corners, repeat this process for the remaining layers, in our case it was a total of 3, now secure the layers of sleepers together with your choice of galvanised brackets, to ensure there is no chance of movement.

raisedbed3

raisedbed4

raisedbed5

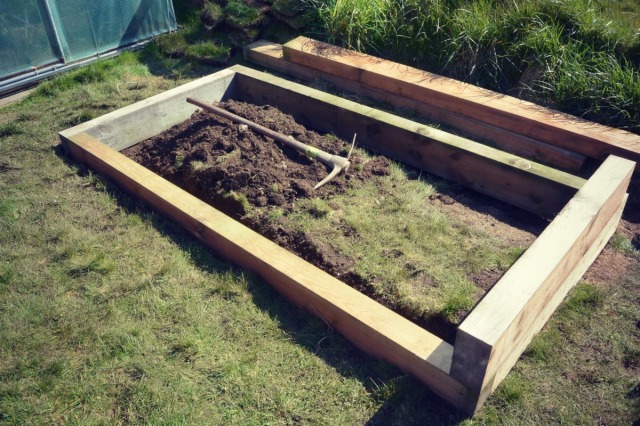
Now backfill with some rubble etc, for drainage then top off with 150mm, or so top soil or your choice of compost.

raisedbed6

This post is for my wonderful friends Ruth and Helen and for anyone else who fancies giving it a go.

How to start growing vegetables: Start small

A lot of people think they don’t have anywhere to to grow. The truth is you don’t need a big garden to grow your vegetables. If you are quite new to growing or if you only have a small space available I’d recommend starting small. One or two raised beds is a great start, as you can experiment with what will grow well in your area and microclimate, and also it is a much less daunting prospect than starting a vegetable plot. And remember anything you grow however small will make a huge difference to you and the way you think of and appreciate food. All of a sudden you will think twice before you buy and throw away those bags of salad. Because growing your food takes a lot of effort. But the the rewards are far greater. So get growing this year.

Traditionally, vegetables are grown in long rows on flat soil with space between the rows for access. A raised bed is a concentrated growing area, higher than the surrounding ground, and its sides are usually constructed of wood. Or you can even set up a vegetable border that is every bit as attractive as a flower border.

raised_bed_8raised_bed_6

There are many advantages to growing your crops in raised beds:

– if your soil is poor or indeed if you lack top soil, which can be the case in some areas, you can fill your bed with good quality soil or garden compost appropriate for your crops.

position – the ideal vegetable growing area is south-facing and sunny without too much shade. With a raised bed you can find the best position in your garden.

drainage – this can be a real problem in our area so you can add some gravel to the bottom of your raised be to ensure it is free draining.

depth – you can decide how deep you want your raised beds to be which is particularly useful when growing root vegetables.

yield – in a small area you can grow small numbers of different crops and generally the yield his higher than from a traditional plot.

maintenance and weeding – due to easier accessibility weeding and looking after your bed should be really straightforward. Remember little and often is the trick.

raised_bed_4raised_bed_3raised_bed_5

Building and maintaining a raised bed

You can buy a ready-to-assemble DIY raised beds but generally they are quite expensive and it is not difficult to make your own. We usually use 6″ x 2″ pressure treated timber and the ideal width of your bed is no more than 1.2m for easy access. The length is entirely up to you.

There are also many alternatives to raised beds like fish boxes, any kind of larger shallow containers or tubs. Growbags are a cheap and effective way of growing tomatoes or strawberries but they will soon run out of nutrients so a good quality fertiliser is a necessity. I only use organic fertiliser or quite often I’d make my own from seaweed, comfrey or nettles. Or you can try growing potatoes in special potato sacks.

One disadvantage of raised beds or containers is that they dry out more quickly than open-ground beds you will have to keep watering them regularly. Mulching helps to prevent evaporation and it is also a good way of suppressing weeds.

raised_bed_2raised_bed_7

The raised beds above are in our garden. Sadly the photos below are not but they are a great inspiration. They show a vegetable garden at The Royal Highland Show in 2013.

raised_bed_9raised_bed_10

So will you give it a go?  Let me know how you get on or if you have any tips. Happy growing!

#grow15in15 challenge

January must be one of the most exciting times in a gardener’s year. You wave the old year goodbye and welcome the new one with anticipation and a head full of plans. It’s a time of feeling positive and hopeful. But it is also easy to be seduced to think that spring is just around the corner…

Then there are such delights as leafing through seed catalogues and gardening books to get inspiration for the growing season ahead, ordering seeds and plants, researching and drawing planting plans.

It seems like every year I come up with ideas for so many different plants and crops and to be honest several of those usually fail as I somehow get distracted and perhaps lose interest as the season progresses. So this year I decided I will stick with a few things that grow relatively well here and that we enjoy eating, rather than experimenting and trying lots of different things.

seeds

And then I had this #grow15in15 challenge idea. I was inspired by a lady in the US who is a keen spinner and whom I follow on Instagram.  She has gathered the interest of other Instagram spinners and gave them a challenge of spinning 15 minutes a day in 2015.

I thought it was a brilliant idea and so here’s my challenge to myself, to fellow growers or aspiring gardeners for this year – let’s grow fifteen crops this year and be one step closer to self-sufficiency.

grow15in15blog

So here’s what’s on my #grow15in15 list:

Tatties

Carrots

Neeps

Beetroot

Peas

Garlic

Celeriac

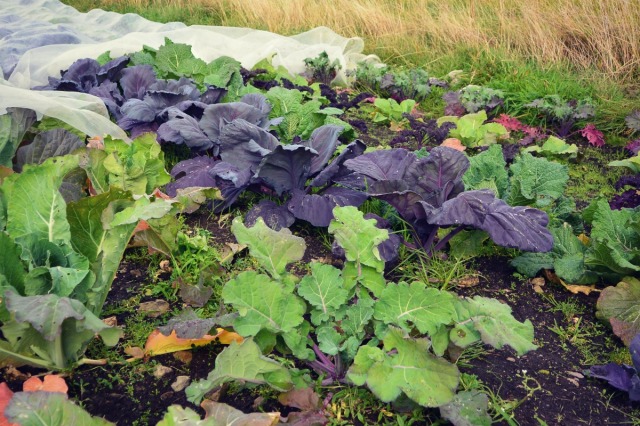
Kale

Rocket

Spinach

Radishes

Strawberries

Raspberries

Gooseberries

Black Currant

What are your crops going to be?


Inspired… and in awe

Yesterday we spent a most enjoyable afternoon in Shetland’s Westside – namely in Sandness. Transition Turrifield held their third open day this summer and they also put on a small farmers’ market and teas, soup, bannocks and homebakes in Sandness Hall. A perfect reason for a little drive West, I thought, especially since the weather was lovely too.

It’s always great exploring different areas and corners of Shetland but the Westside must be my favourite as the lanscape is really beautiful. There are miles of quiet single-track roads with many hidden lochs that shine like gems, nestled in the hills. And sheep roam free. The vistas are juxstaposed with peatbanks with lovely dark peat and white crofthouses, dotted in the landscape. It feels like the Westside is Shetland in miniature. And then there are the egg and veg boxes beside the roads… it’s so exciting buying local produce and having the element of surprise as sometimes there can also be homemade cakes, jams or preserves. The whole experience feels like a little treasure hunt!

So after a plate of tasty soup and a spot of shopping at the hall (we bought some veg, Shetland cheese, pork, beer and fudge) we set of to the croft at Turriefeld. And what a busy place it was! Cars and people everywhere. It was great being back again and seeing how everything grows as the season progresses. In June we spent an ejoyable day with Penny and Alan learning how to build a polytunnel from discarded salmon cage pipes and plastic sheeting. Back then it was a cloudy day with a lot of wind so we didn’t get a chance to finish the tunnel and put the sheet on. (I’ll write about that experience another time.)

m_DSC_3837

m_DSC_3839

m_DSC_3843

This time the weather was just perfect, it was sunny, warm and there was very little wind. Everything looked green and lush. When we arrived we were given a lovely guided tour of the croft’s growing areas by one of the volunteers and in a few words I have to say I was in awe… Yes, it was amazing to see big juicy tomatoes, beans, courgettes, aubergines… but there were also pumpkins, corn… and melons too! All these were in the tunnels. Outside all sorts of brassicas, peas, carrots and tatties are thriving. And then there were the animals – hens, turkeys and ducks… and the pigs that help to work the ground.

m_DSC_3859

m_DSC_3851

m_DSC_3849

m_DSC_3848

I could keep going on but basically visiting Turriefield and seeing the amazing work that Penny, Alan and their volunteers do is simply amazing and utterly inspiring. Visiting their croft is real eye-opener and it shows how with a bit of knowledge, some shetler and a bit of digging (or a lot) it is possible to grow many things in Shetland. And do so in a responsible, sustainable way.

m_DSC_3868

m_DSC_3869

m_DSC_3879

m_DSC_3877

I’m totally inspired and next year I’m planning to reduce the lawn area even more to make space for a few more raised beds… just a shame we don’t have more space as I would love to have one of thoose big tunnels too… (the one pictured below is the one we built in June and it currently used for drying a great crop of garlic before it is used in the new season).

m_DSC_3896

Find out about my previous visit to Turriefield here. For further information and recipes click here.

More photos here.

Grow your own garlic

If you ask me what my favourite ingredients are one of them would have to be garlic (Allium sativum). Garlic is a versatile food flavouring but most importantly it is an amazing natural remedy. It’s been proven garlic is powerful natural antibiotic and therefore it’s great for preventing and curing many illnesses.

There are two main medicinal ingredients which produce the garlic health benefits: allicin and diallyl sulphides. Allicin does not occur in “ordinary” garlic, it is produced when garlic is finely chopped or crushed. The finer the chopping and the more intensive the crushing, the more allicin is generated and the stronger the medicinal effect. Garlic is a sulphurous compound and in general a stronger tasting clove has more sulphur content and hence more potential medicinal value. Some people have suggested that organically grown garlic tends towards a higher sulphur level and hence greater benefit to health. Whether or not that is in fact the case, it certainly has the best taste. (Source: Garlic Central)

m_DSC_1607

So growing your own garlic definitely makes sense, especially as it can be quite expensive buying organic.

In fact growing your own garlic is really simple and hugely satisfying. Even in Shetland, at 60° north, you can succeed to grow good size bulbs, which will taste much better and stronger than supermarket-bought garlic. And it will keep much better too.

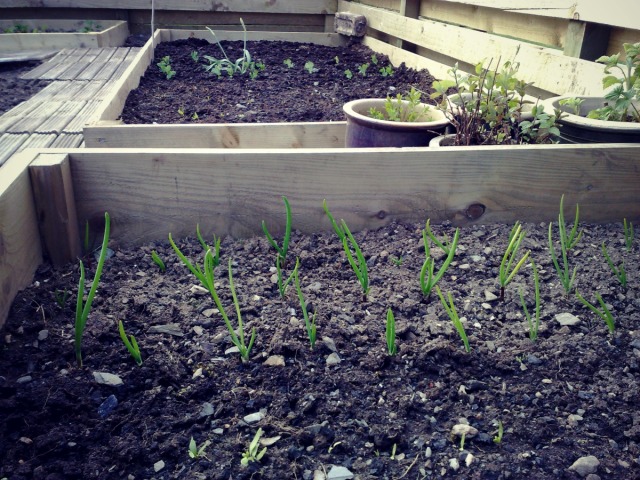
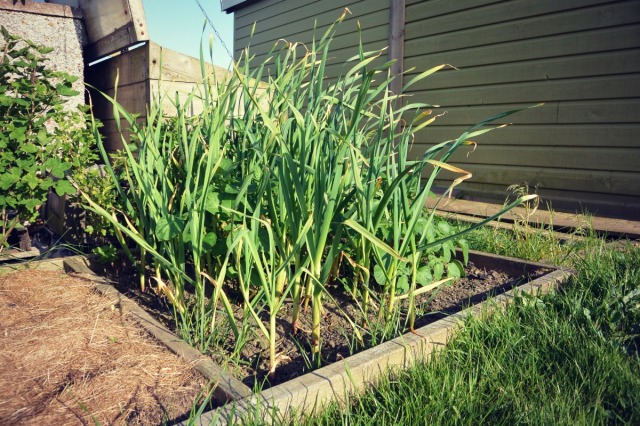
To grow your own garlic all you’ll need is a small patch of well-dreained soil or ideally a raised bed. 1 x 1m will give you sufficient space to produce enough garlic to keep you going all year (I judge this by our standard and we use a lot garlic. I mean a lot). For best results choose a sunny site and add some garden compost too.

Garlic can be planted in the spring, as soon as the ground is dry enough to be worked, but to get good sized bulbs you’ll need to be a bit more organised and plant the seed garlic around October or November time. Since in Shetand we do not suffer from frost too much planting garlic in late autumn is ok, however if you live in an area where hard frost is an issue make sure you plant garlic six to eight weeks before that frost.

Break apart cloves from bulb, but keep the papery husk on each individual clove and plant 10cm deep and approximately 12cm apart, with their pointed ends up. You can also cover the planted area with 5cm of organic mulch, such as shredded leaves or grass clippings. And that’s the hard work done – the rest will happen on its own. In early spring the garlic will start growing and come late summer you’ll be able to start enjoying your crops! Really, garlic must be one of the easiest plants to grow!

m_DSC_2752

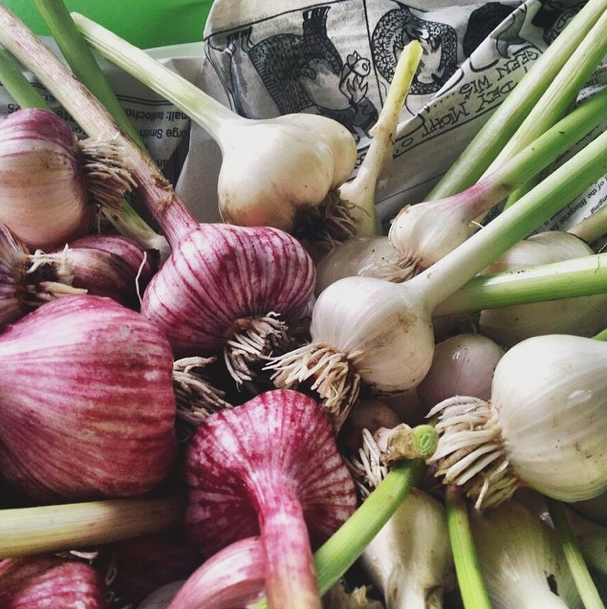
Harvesting and storing – from early summer to midsummer, keep an eye on your plants and pull them when about one-third of the leaves appear yellow and withered. Use a fork to loosen the soil before pulling the plants and avoid bruising the freshly pulled bulbs. Lay the whole plants out to dry in a warm, airy spot that is protected from rain and direct sun. After a week or so, brush off soil from the bulbs and clip roots to 1cm long. Do not be tempted to remove the papery outer husks as these inhibit sprouting and protect the cloves from rotting. Hang your dried crop in mesh bags in a cool place. This way your garlic should keep for approximately six months.

m_garlic2


m_garlic1

So give it a go – grow some super healthy food and save some money too! It’s easy…

Three vegetable crops to sow this weekend

It’s Friday afternoon and I’m planning my gardening tasks for the weekend. Certainly there will be plenty of weeding required and also keeping on top of pests like caterpillars and slugs… And then there are those pesky starlings that seem to love young, tender and particularly fragrant plants like herbs. They just snip them off and take them to their nests. But there will also be sowing of seeds…

m_photo-124_watemark

It might seem a bit late to sow seeds in the middle of June but there are some vegetables you can still sow for the later season crop. So the seeds I will be sowing are:

Perpetual Spinach

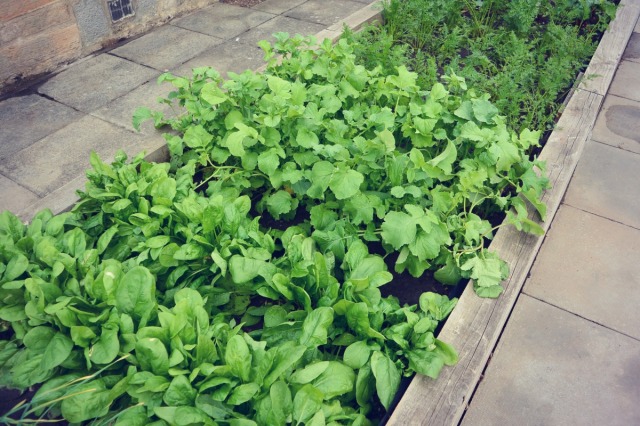
If you like spinach then perpetual spinach is the perfect thing for you. It tastes like ordinary spinach but you don’t need to keep sowing it as you do with ‘real’ spinach. The same plants will keep going for months. I usually do a very late sowing (August) and if the winter is mild we usually have enough greens to take us through till the spring.

Spinach needs plenty moisture at the roots and lots of nutriens so digging in well rotted garden compost before you start sowing is good. Since spinach prefers shade you can consider intercropping with veg which will provide it. Sow the seed directly in drills about 1cm deep in rows 30cm apart. Thin seedlings out to 15cm apart. Harvest little and often. It’s perfect for freezing too!

m_DSC_2445

Peas

Fresh peas – oh my goodness, what could be better than eating peas seconds after picking them. A real treat for kids too! Definitely better than sweeties. And the great thing about growing peas is that is easy (peasy). All you need is a small area, bed, container or a pot. In order to maintain a steady supply of peas through the season sow an early variety every four weeks.

Peas like rich, moisture-retentive soil so again adding compost or well-rotted manure is ideal. Peas dislike hot weather so they do well in Shetland. To sow peas make a single V-shaped drill, approximately 5cm deep and sow them 5-10cm apart.

m_DSC_2147

Beetroot

Beetroot is simply amazing. Probably usually enjoyed more pickled or cooked however when eaten raw, beetroot is full of vitamins and minerals and it is also packed with powerful antioxidants. But most importantly beets are valued for their support in detoxification and helping to purify your blood and your liver. Sometimes I add beetrot to my fresh juice (nice with carrot, apple and ginger). And nothing beats borscht soup.

Beetroot grows well in an open, sunny site in well-drained, fertile soil. My friends in Scalloway seem to be able to grow any amount of beetroot in a small, relatively unsheltered space without any difficulties yet we have never really succeeded with beetroot yet. On the other hand they have not had much luck with garlic which we seem to be able to grow really well here.

Sow thinly, in drills 2.5cm deep, 30cm apart. Thin out if necessary (approximately 8-10cm). Tip: in the polytunnel we always leave some beetrots over the winter and in the early spring you are guaranteed lovely, colourful salad leaves full of vitamins and minerals.

Happy sowing!


Shetland Kale: Possibly the oldest Scottish local vegetable variety

Last year my colleague from work was very kind to give me some Shetland Kale seeds she kept that season. I was very excited about the prospect of growing an old Shetland crop and particularly because it would be grown from a heritage variety seed that was lovingly nurtured and saved unlike mass-produced commercial hybrid seeds.

m_DSC_2457

When looking for more information about Kale I came across this some interesting information at Slow Food UK:

Shetland Cabbage

OLYMPUS DIGITAL CAMERA

What are my special features?

Much variation can be found in this cabbage/kale (Brassica oleracea L) and the heart is a lot more open than modern cabbage varieties. The cabbage has a characteristic peppery taste and is traditionally cooked in a mutton stew.

What is my history?

Shetland Cabbage/Kale is the oldest known Scottish local vegetable variety and has been grown on the Shetland Islands since at least the 17th Century. Specific origin details of this landraceis unknown. The outer or dropped leaves were often used as winter feed for cattle and sheep.

Due to the extreme weather conditions on the Islands cabbage seeds were traditionally planted in plantie crubs, a small circular stone-walled enclosure. The cabbage seedlings were then transplanted into larger yards also often with stone walls. These structures can still be seen all over the islands despite many being in ruins.

m_IMG_6800

Why am I forgotten?

In the last 30 years, there has been a steep decline in Shetland Cabbage and competition within other well-known supermarket varieties is further problematic for such traditional varieties.

Don’t lose me… cook me!

Kale was immortalised in the Shetland poem “Auld Maunsie’s Cro” by Basil R. Anderson:

‘Auld Maunsie biggit him a Cro
Ta grow him kale fir mutton bro
Fir Maunsie never tocht him hale,
Withoot sheeps shanks an kogs o’kale’

I found out that seed of Shetland Cabbage is not sold commercially and the survival of this, and other, landraces is entirely dependent on growers saved seed. Find out more here.

I’m planning to try keep some seed this year if the plants succeed so if anyone is interested in giving it a go please let me know and I’ll get you some seed.

Photo No.3: Silent witnesses to intensive crofting in the past – plantie crubs and kale yards in Culswick. To see this magic place and enjoy a fine walk to Culswick Broch check Walk Shetland.
The garden’s coming on

It’s almost midsummer and things in the garden are fairly coming on. Particularly on a glorious day like this all the hard work is worth it.

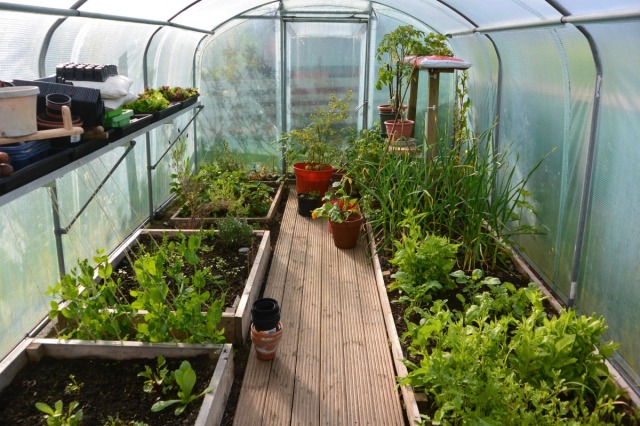
In the polytunnel:

m_DSC_2435

First of the baby courgettes.

m_DSC_2443

The first of the bullet-like green strawberries have formed.

m_DSC_2438

The strawberries in the grow bags are a bit more advanced so hopefully they will be ready to go with Champagne and cream in time for Wimbledon…

m_DSC_2439

Self propagated raspberries – glad I didn’t pull them out as there is a lot of fruit showing on them.

m_DSC_2445

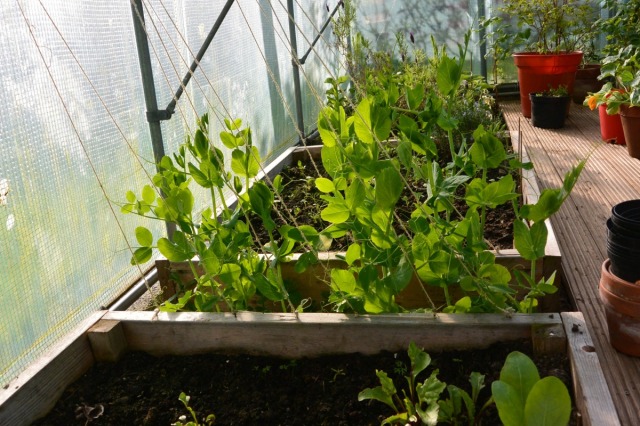
Peas – plenty of flowers on the first mini pods are forming.

Outside:

m_DSC_2452

A good crop of goosberries coming on nicely, just hoping Gooseberry sawfly leaves the bush alone this year.

m_DSC_2454

A pot full of good cuttings going on – next year’s Alaskan willow and blackcurrants.

m_DSC_2455

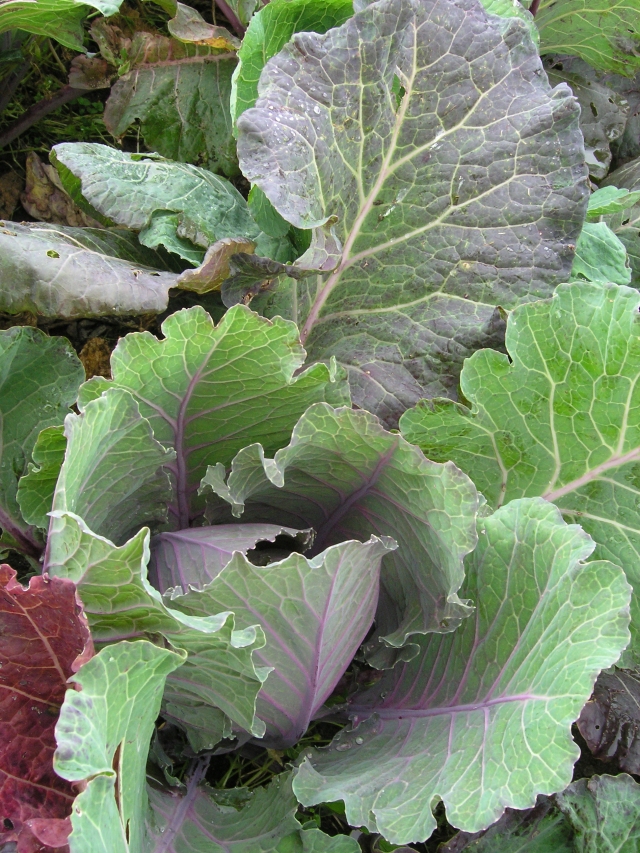
Kale (Shetland cabbage) and neeps.

m_DSC_2457

This is the first time we’re trying to grow Shetland cabbage but I have seen a few Cabbage Whites about today so might neet to keep an eye on these.

m_DSC_2751

Growing garlic is really easy – will post about that another time.

m_DSC_2748

The best bit – the harvesting!

m_DSC_2760

… and enjoying your crops on your plate.

m_DSC_2610

… and also getting some cut flowers.

m_DSC_2777

… and seeing the wildlife too!


Tonight’s tasks

Tonight is exactly the sort of night you just don’t want to finish. It is a completely still, sunny night with mist gently rolling in to slowly bring this glorious day to an end. After an hour in the garden (I’m writing this at 9.25pm) the sun is still out but hidden behind a curtain of mist and looking out of the window everything looks golden sort of milky…

Anyway, seated comfortably at the kithen table, listening to Enigma and sipping a refreshing cup of Earl Grey with lemon I’m just going to write briefly about tonight’s tasks in the garden. Before I start let me say that this year I decided to be orgaised and keep on top of weeding by spending a little time in the garden every day, even if the weather isn’t good. This should make everything much easier and I shouldn’t be faced with weeding through a jungle every so often which can be a very daunting task.

So the start to this resolution tonight’s tasks were weeding around the raspberry canes, red and black currant bushes and strawberries, putting some fruit fertiliser down and mulching around the bushes with bark and straw.

m_DSC_2090

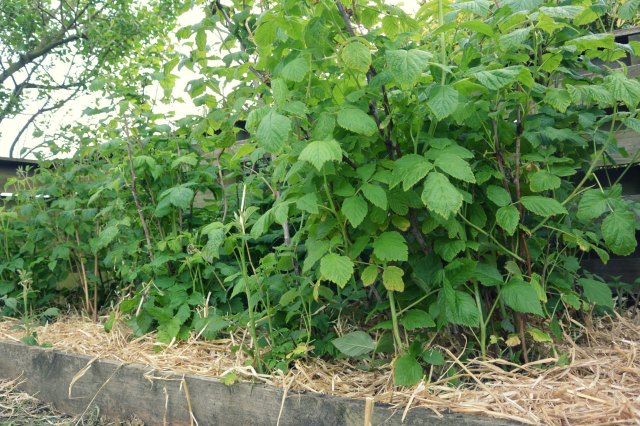
Raspberry canes mulched with straw – this should help to supress the weeds and keep moisture in.

m_DSC_2099

Black currant berries to be…

m_DSC_2103

These gooseberries turn dark red when they are ripe and taste like honey. Can’t wait for them and just love the feeling when they burst in your mouth…

m_DSC_2125

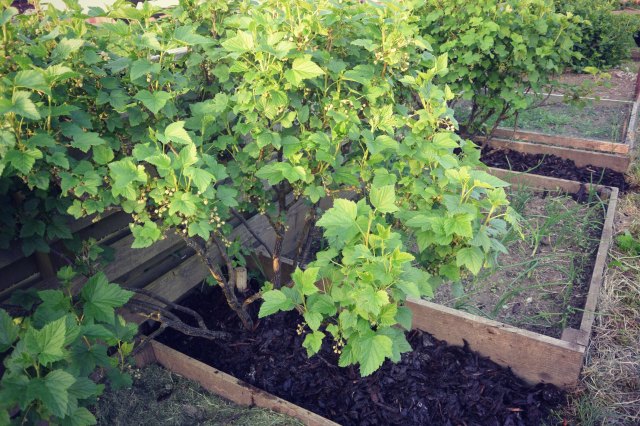
After pruning the black and red currant, I put some organic fruit fertiliser down and mulched around the bushes with bark. The bushes look really lovely and happy now.

m_DSC_2121

Strawberries with fresh bed of straw.

m_DSC_2116

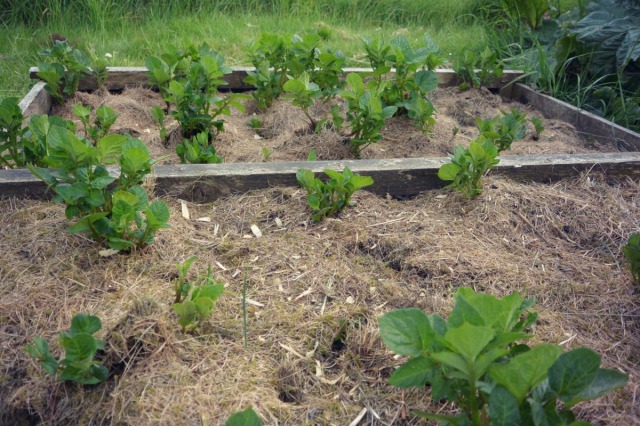
Supervised by the neighbour in the park next door… we even use grass clippings to mulch around tatties which saves having to earth them up and keeps those pesky weeds out.

m_DSC_2128

The perfect night for weeding and actually enjoying the garden.

m_DSC_2093

Beautiful chives flowers about to open – they lovely in the house too, instead of expensive cut flowers.

m_DSC_2147

In the polytunnel – hoping for some beetroots this year as last year the crop wasn’t great…

m_DSC_2134

Delicious, sweet-tasting peas time soon!

m_DSC_2153

And after all this enjoyment, fresh air and sunshine it is time to turn in, make a cup of tea and relax.