Three vegetable crops to sow this weekend

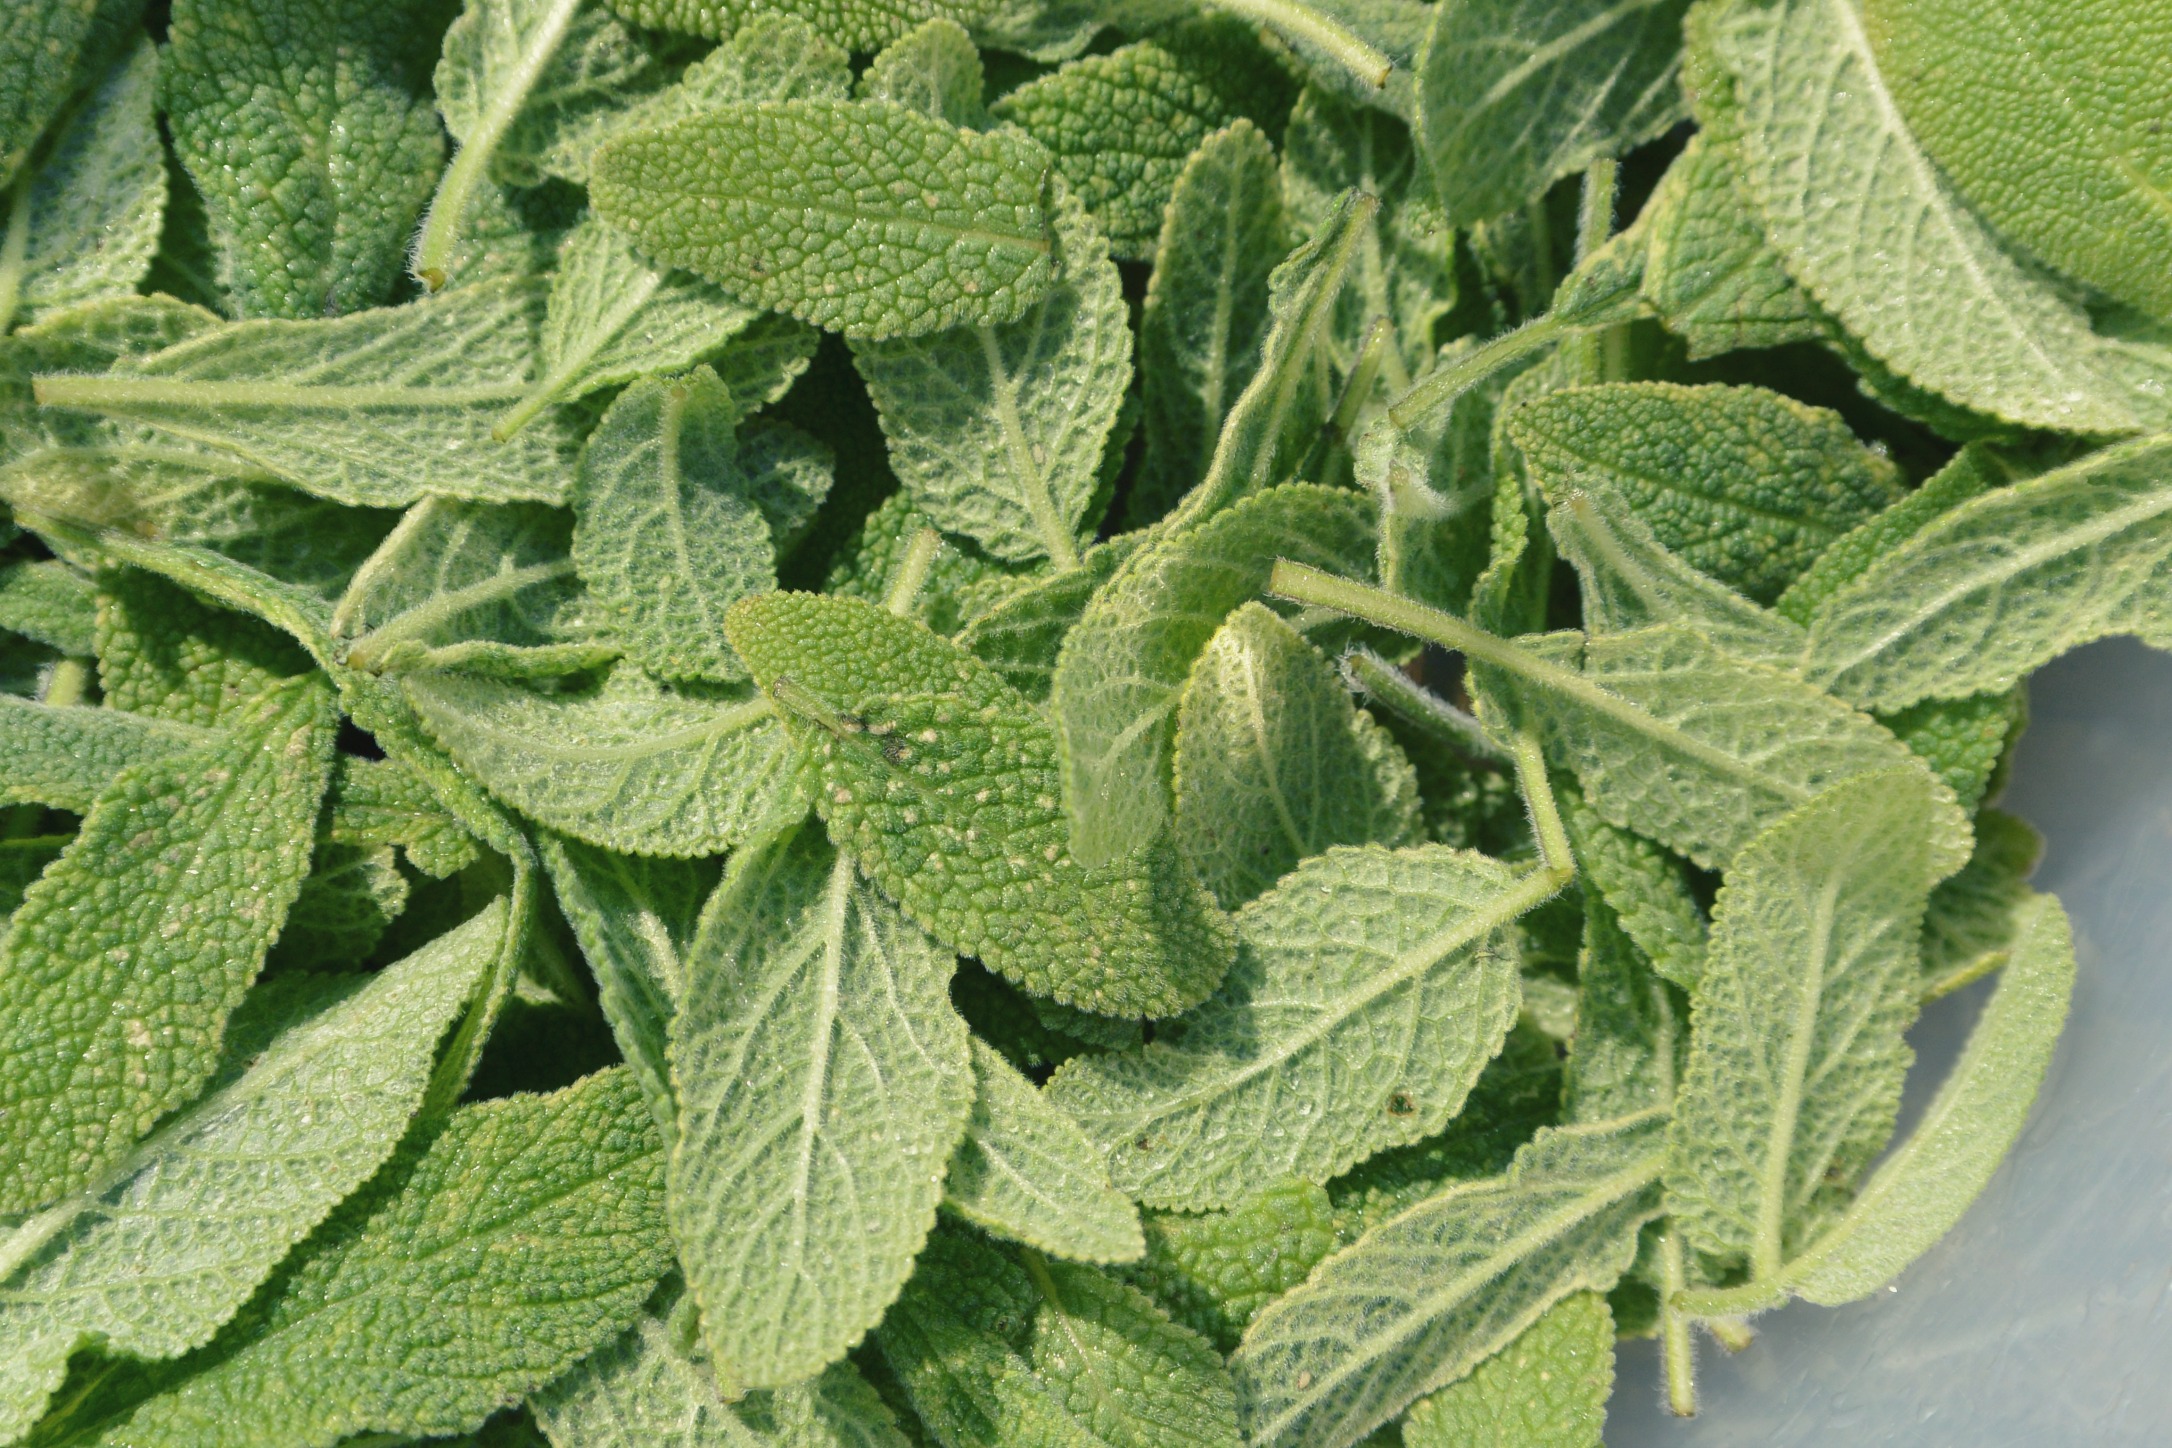
It’s Friday afternoon and I’m planning my gardening tasks for the weekend. Certainly there will be plenty of weeding required and also keeping on top of pests like caterpillars and slugs… And then there are those pesky starlings that seem to love young, tender and particularly fragrant plants like herbs. They just snip them off and take them to their nests. But there will also be sowing of seeds…

m_photo-124_watemark

It might seem a bit late to sow seeds in the middle of June but there are some vegetables you can still sow for the later season crop. So the seeds I will be sowing are:

Perpetual Spinach

If you like spinach then perpetual spinach is the perfect thing for you. It tastes like ordinary spinach but you don’t need to keep sowing it as you do with ‘real’ spinach. The same plants will keep going for months. I usually do a very late sowing (August) and if the winter is mild we usually have enough greens to take us through till the spring.

Spinach needs plenty moisture at the roots and lots of nutriens so digging in well rotted garden compost before you start sowing is good. Since spinach prefers shade you can consider intercropping with veg which will provide it. Sow the seed directly in drills about 1cm deep in rows 30cm apart. Thin seedlings out to 15cm apart. Harvest little and often. It’s perfect for freezing too!
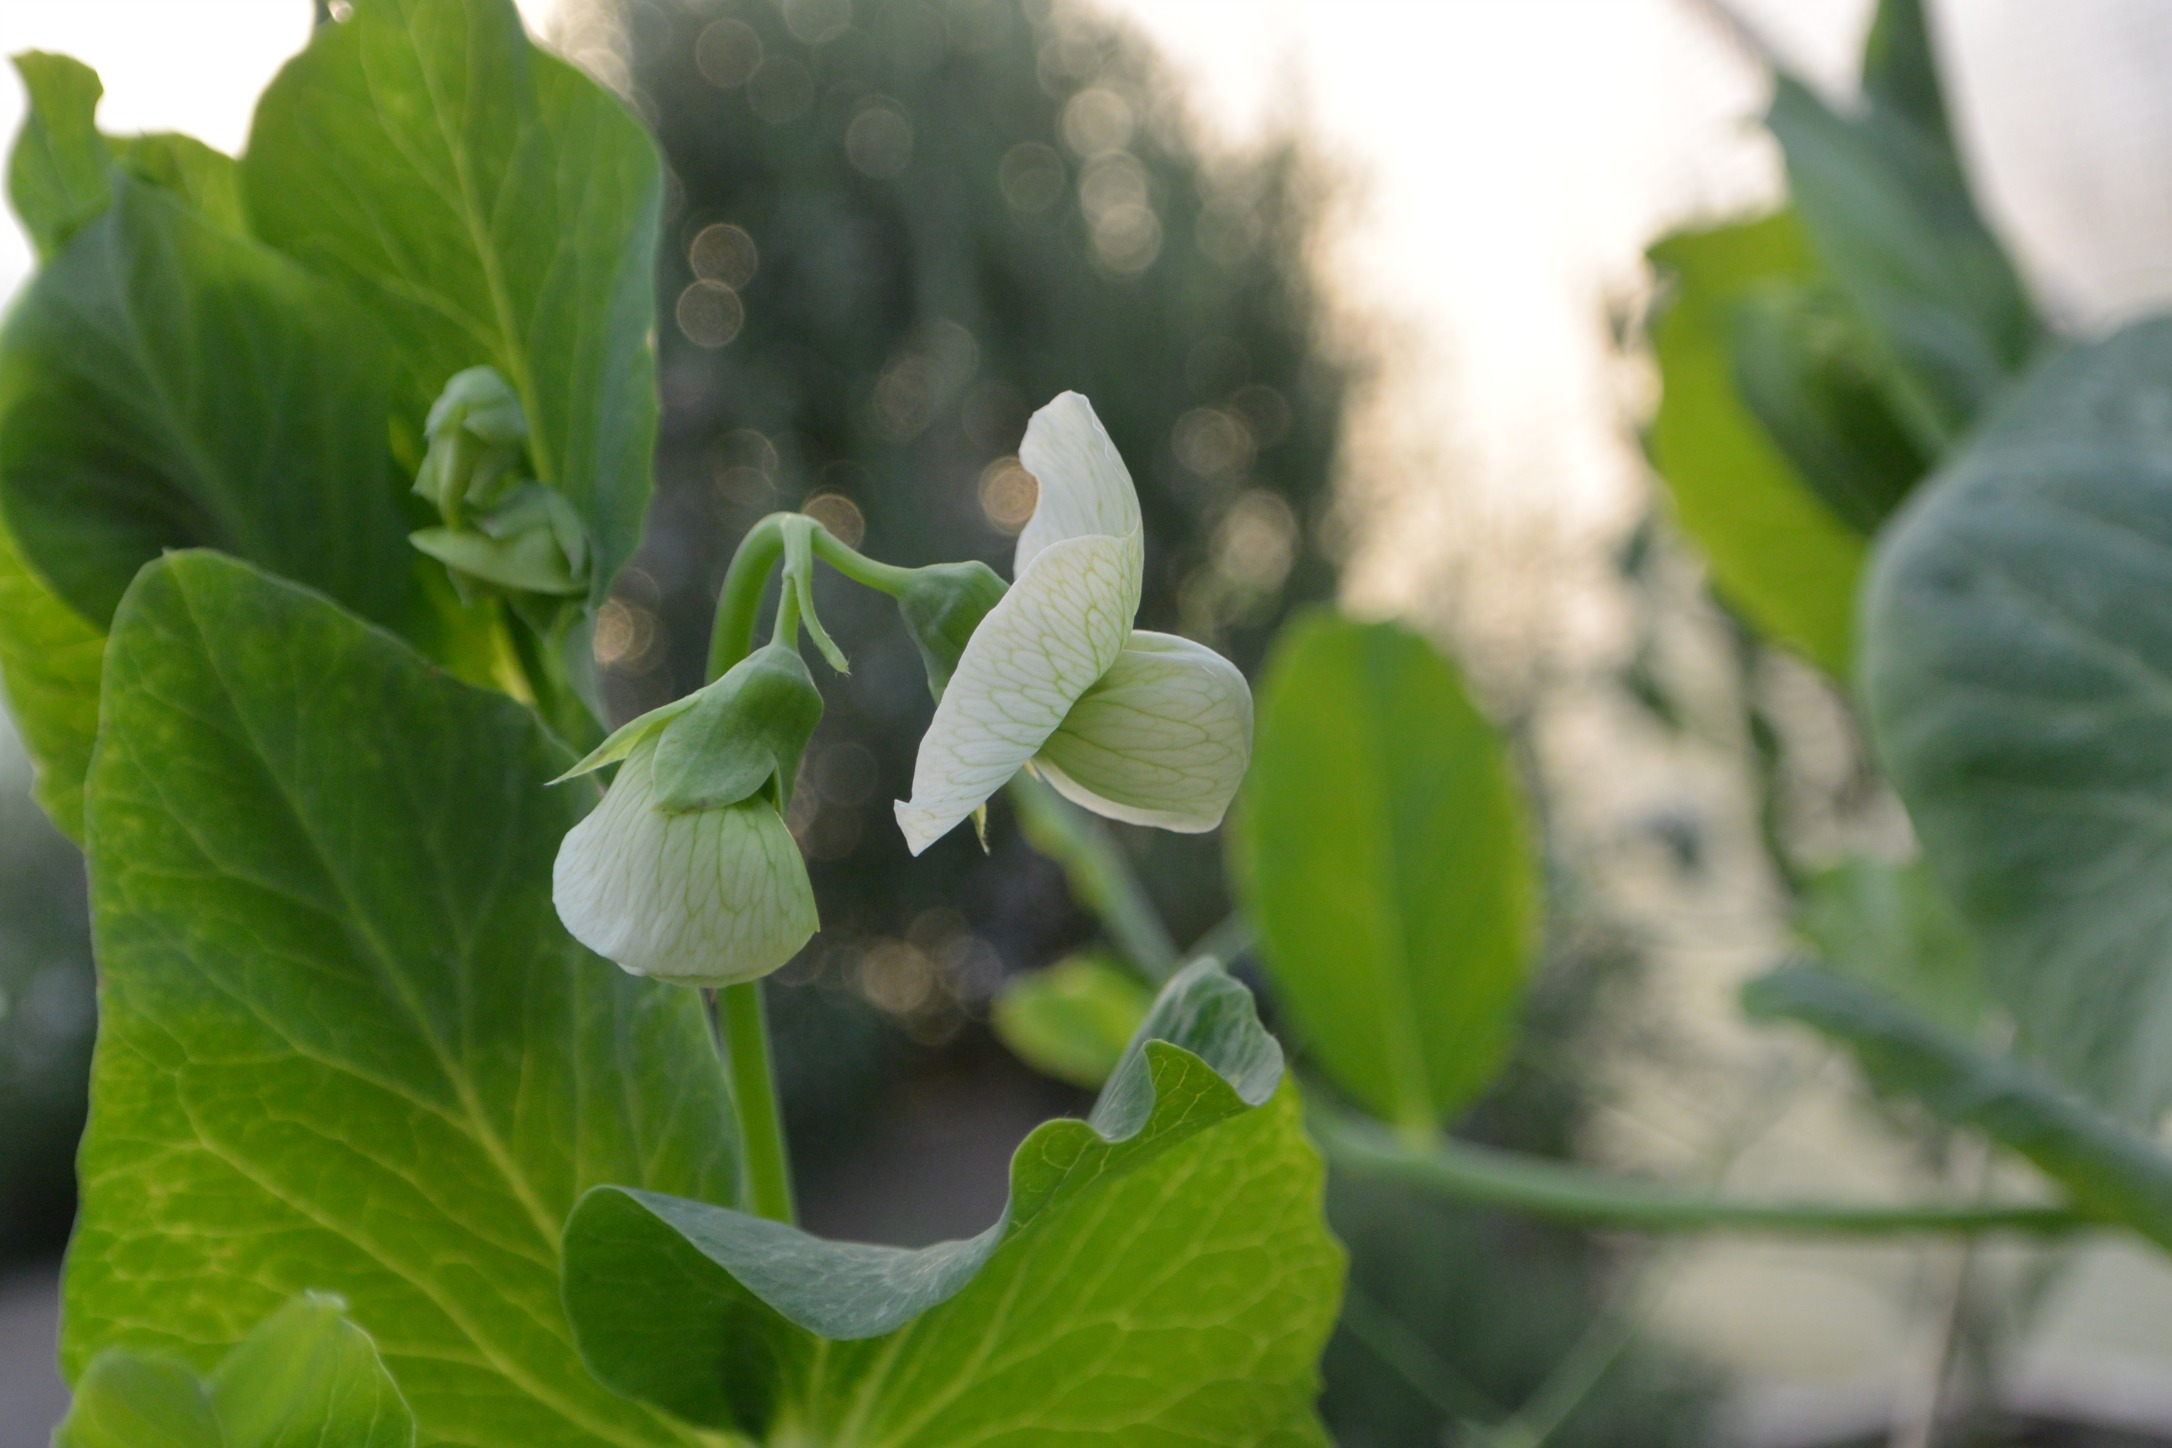
m_DSC_2445

Peas

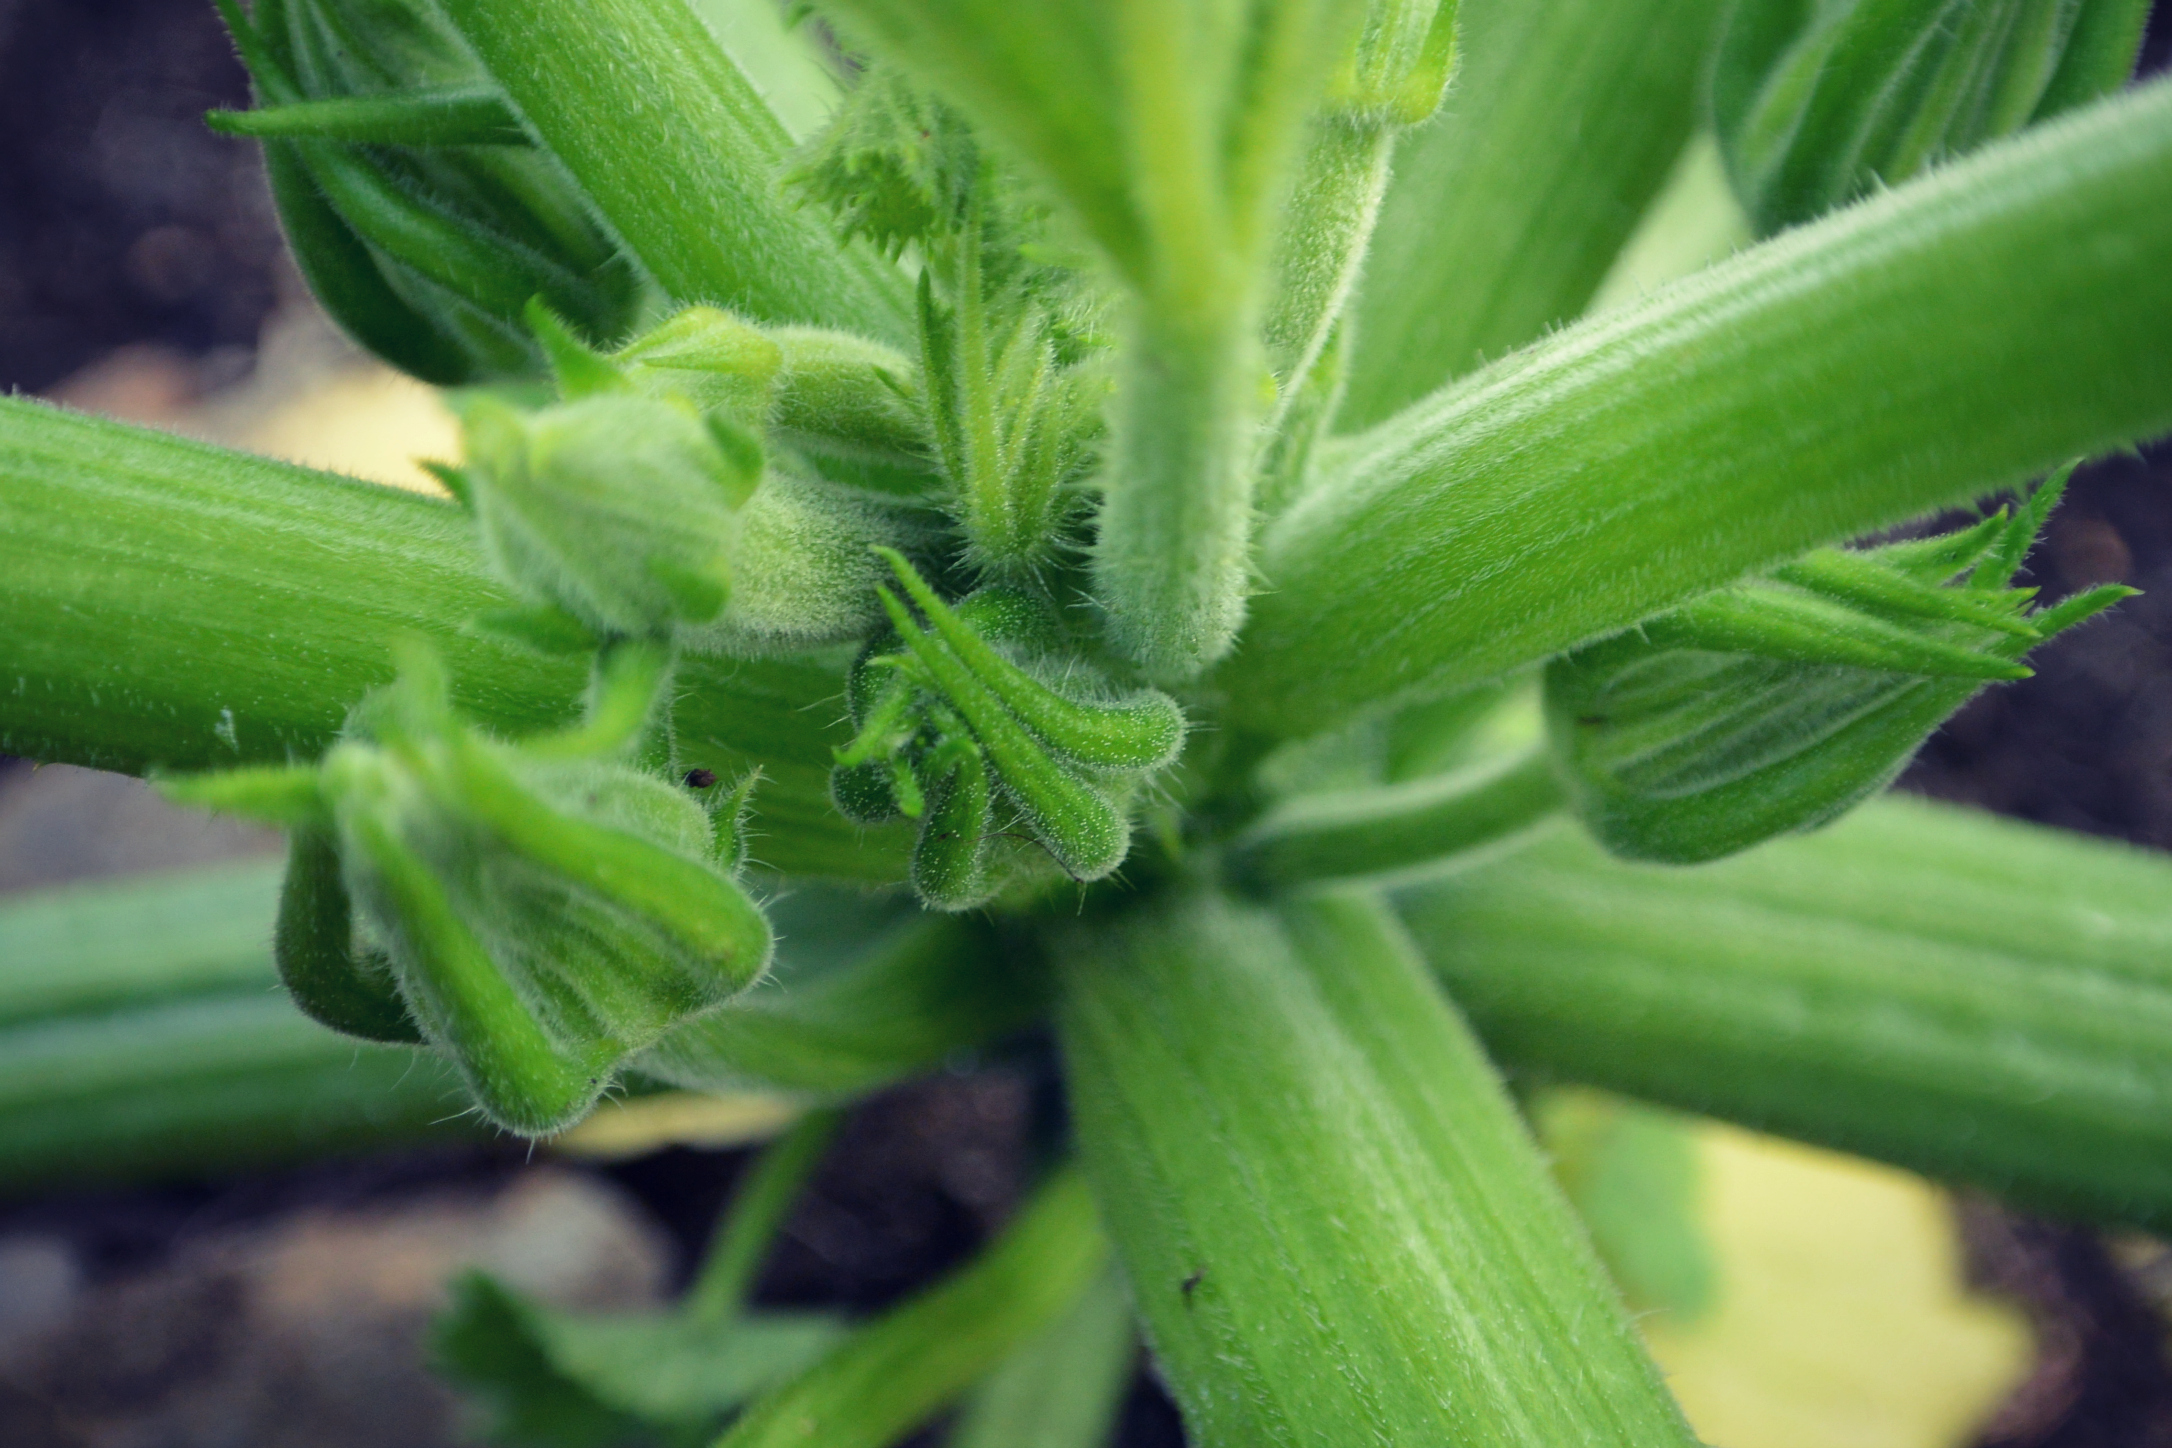
Fresh peas – oh my goodness, what could be better than eating peas seconds after picking them. A real treat for kids too! Definitely better than sweeties. And the great thing about growing peas is that is easy (peasy). All you need is a small area, bed, container or a pot. In order to maintain a steady supply of peas through the season sow an early variety every four weeks.

Peas like rich, moisture-retentive soil so again adding compost or well-rotted manure is ideal. Peas dislike hot weather so they do well in Shetland. To sow peas make a single V-shaped drill, approximately 5cm deep and sow them 5-10cm apart.

m_DSC_2147

Beetroot

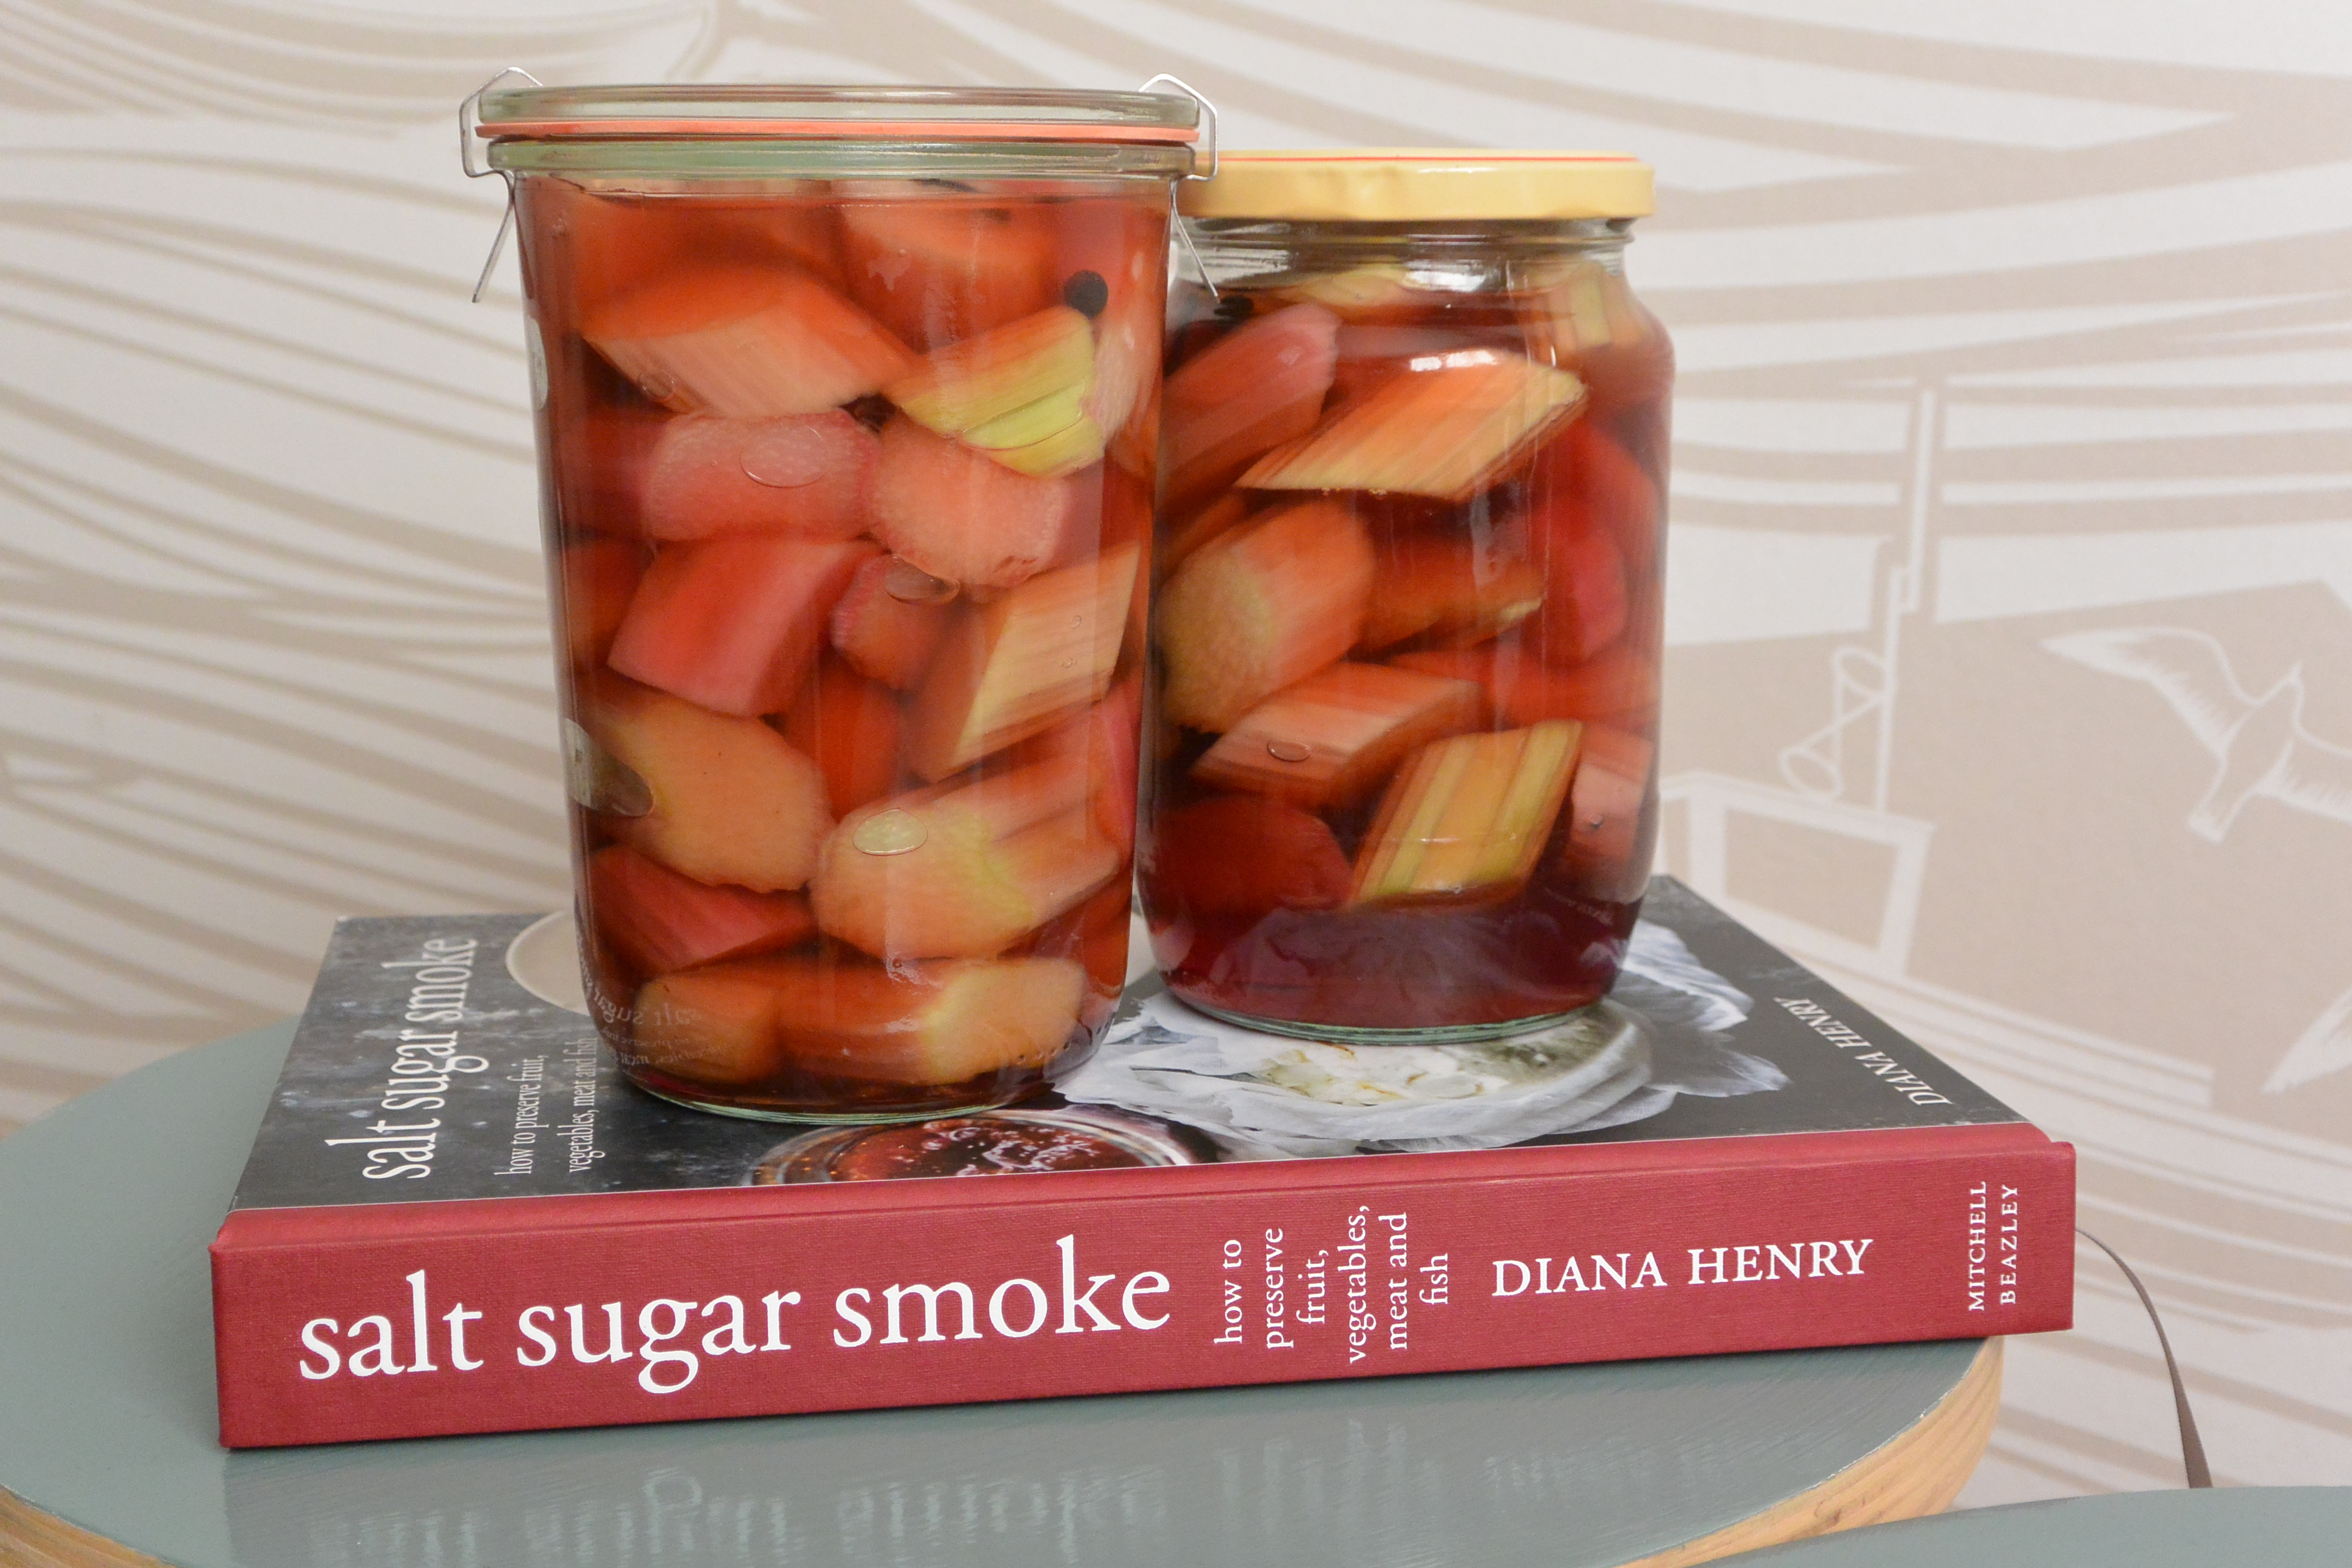
Beetroot is simply amazing. Probably usually enjoyed more pickled or cooked however when eaten raw, beetroot is full of vitamins and minerals and it is also packed with powerful antioxidants. But most importantly beets are valued for their support in detoxification and helping to purify your blood and your liver. Sometimes I add beetrot to my fresh juice (nice with carrot, apple and ginger). And nothing beats borscht soup.

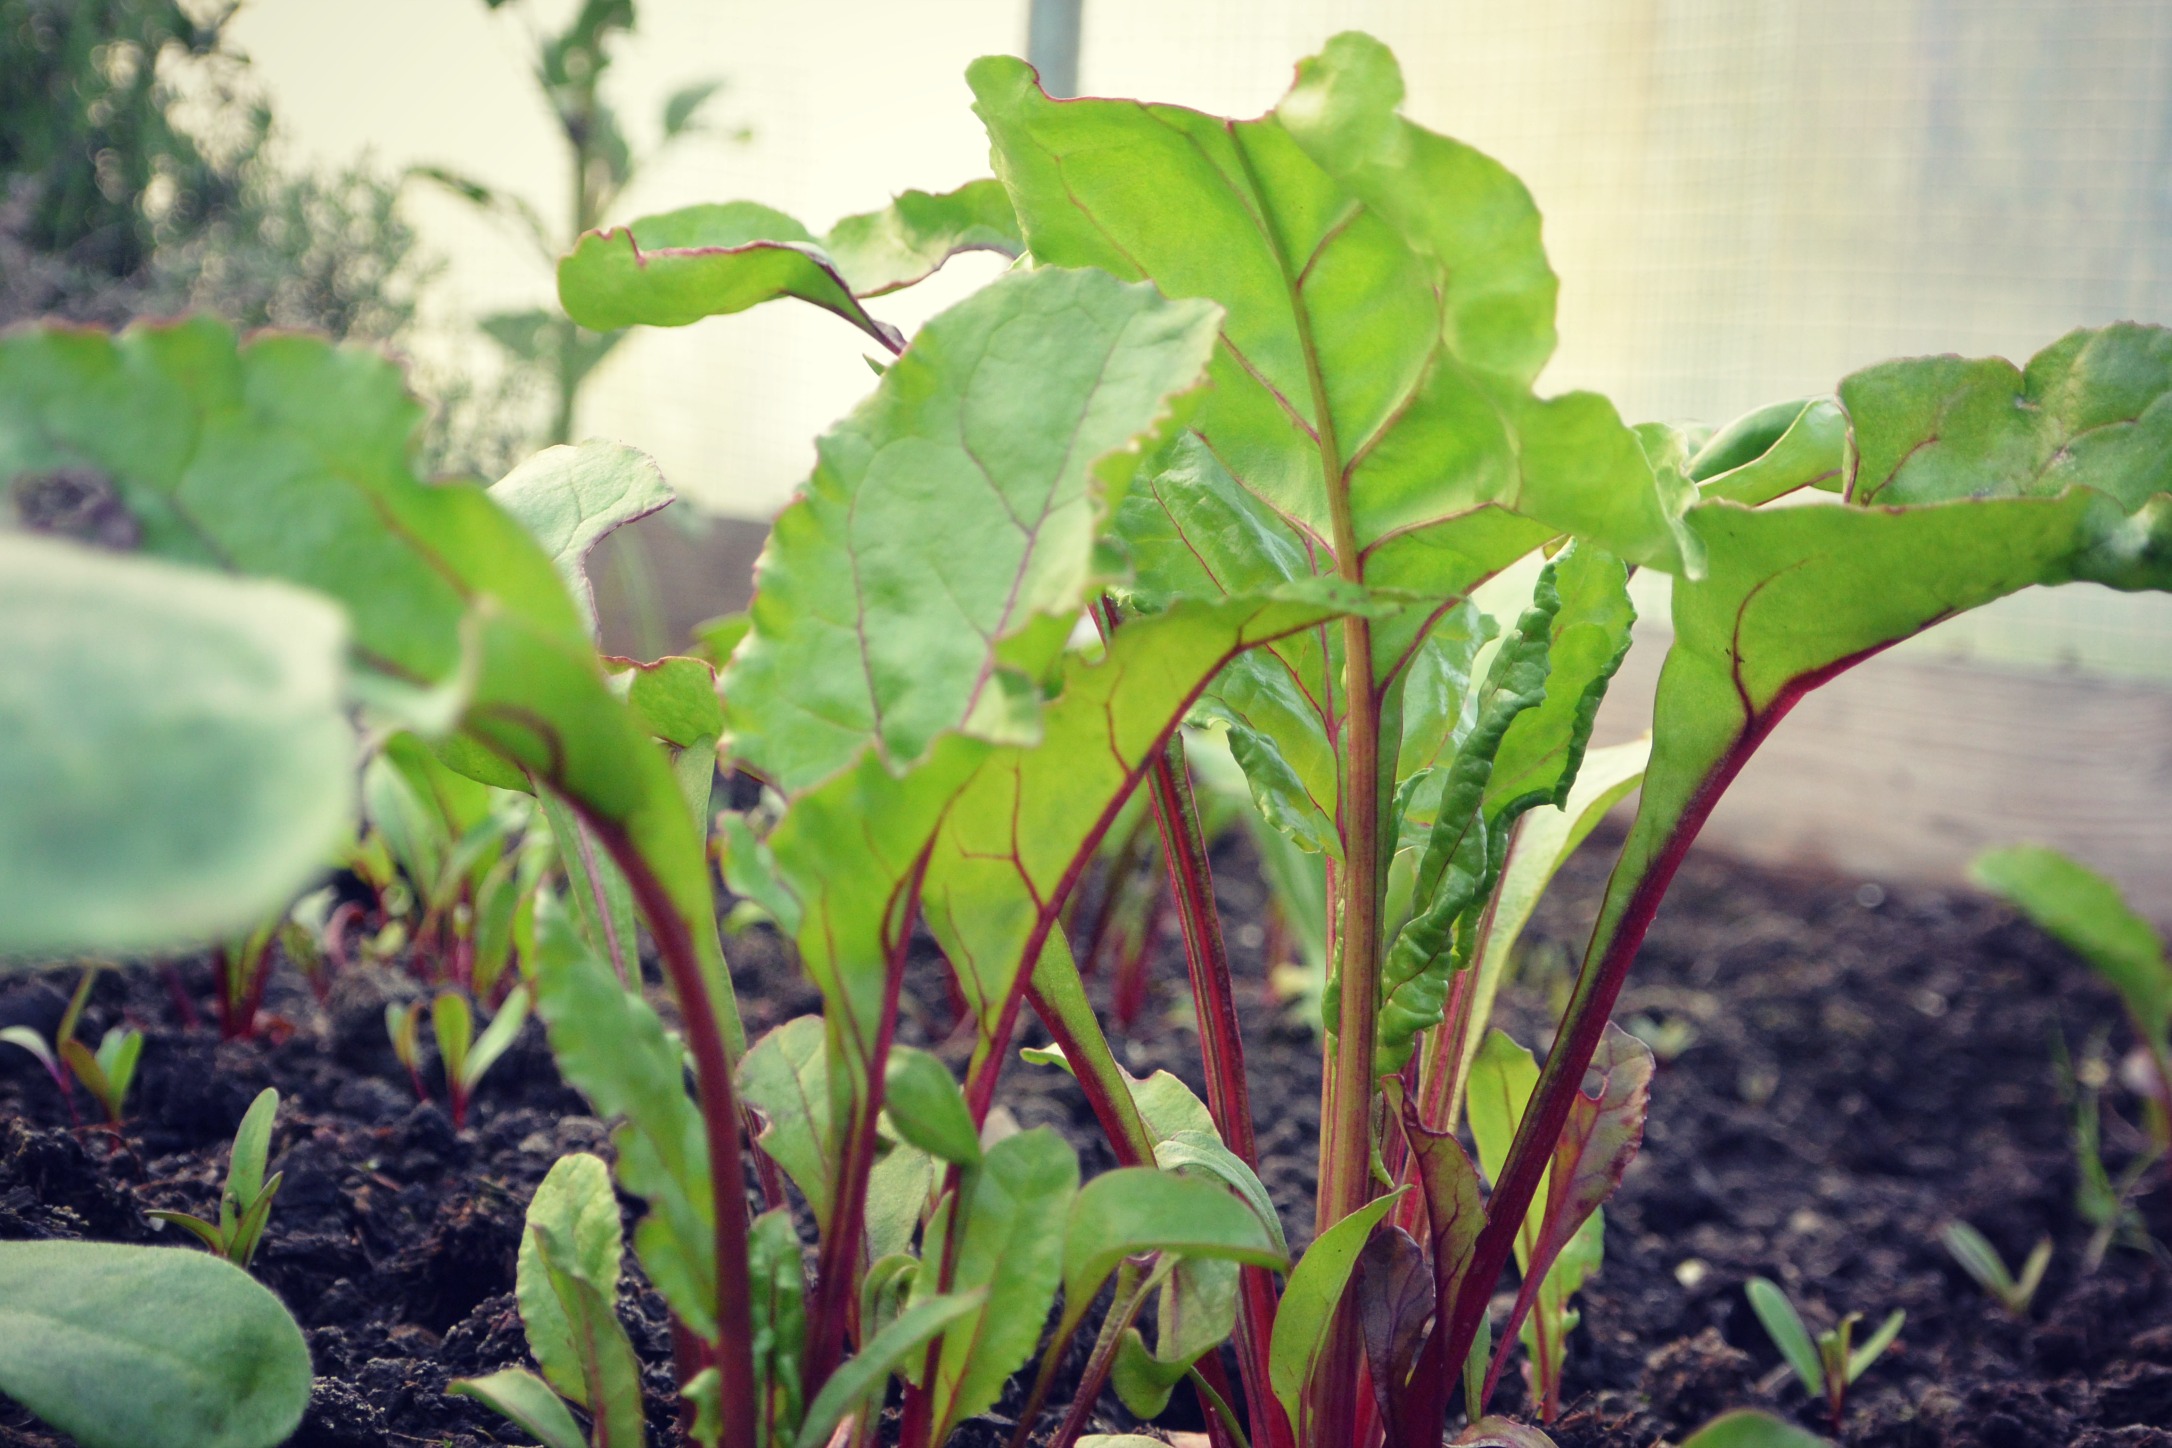
Beetroot grows well in an open, sunny site in well-drained, fertile soil. My friends in Scalloway seem to be able to grow any amount of beetroot in a small, relatively unsheltered space without any difficulties yet we have never really succeeded with beetroot yet. On the other hand they have not had much luck with garlic which we seem to be able to grow really well here.

Sow thinly, in drills 2.5cm deep, 30cm apart. Thin out if necessary (approximately 8-10cm). Tip: in the polytunnel we always leave some beetrots over the winter and in the early spring you are guaranteed lovely, colourful salad leaves full of vitamins and minerals.

Happy sowing!


Shetland Kale: Possibly the oldest Scottish local vegetable variety

Last year my colleague from work was very kind to give me some Shetland Kale seeds she kept that season. I was very excited about the prospect of growing an old Shetland crop and particularly because it would be grown from a heritage variety seed that was lovingly nurtured and saved unlike mass-produced commercial hybrid seeds.

m_DSC_2457

When looking for more information about Kale I came across this some interesting information at Slow Food UK:

Shetland Cabbage

OLYMPUS DIGITAL CAMERA

What are my special features?

Much variation can be found in this cabbage/kale (Brassica oleracea L) and the heart is a lot more open than modern cabbage varieties. The cabbage has a characteristic peppery taste and is traditionally cooked in a mutton stew.

What is my history?

Shetland Cabbage/Kale is the oldest known Scottish local vegetable variety and has been grown on the Shetland Islands since at least the 17th Century. Specific origin details of this landraceis unknown. The outer or dropped leaves were often used as winter feed for cattle and sheep.

Due to the extreme weather conditions on the Islands cabbage seeds were traditionally planted in plantie crubs, a small circular stone-walled enclosure. The cabbage seedlings were then transplanted into larger yards also often with stone walls. These structures can still be seen all over the islands despite many being in ruins.

m_IMG_6800

Why am I forgotten?

In the last 30 years, there has been a steep decline in Shetland Cabbage and competition within other well-known supermarket varieties is further problematic for such traditional varieties.

Don’t lose me… cook me!

Kale was immortalised in the Shetland poem “Auld Maunsie’s Cro” by Basil R. Anderson:

‘Auld Maunsie biggit him a Cro
Ta grow him kale fir mutton bro
Fir Maunsie never tocht him hale,
Withoot sheeps shanks an kogs o’kale’

I found out that seed of Shetland Cabbage is not sold commercially and the survival of this, and other, landraces is entirely dependent on growers saved seed. Find out more here.

I’m planning to try keep some seed this year if the plants succeed so if anyone is interested in giving it a go please let me know and I’ll get you some seed.

Photo No.3: Silent witnesses to intensive crofting in the past – plantie crubs and kale yards in Culswick. To see this magic place and enjoy a fine walk to Culswick Broch check Walk Shetland.

The garden’s coming on

It’s almost midsummer and things in the garden are fairly coming on. Particularly on a glorious day like this all the hard work is worth it.

In the polytunnel:

m_DSC_2435

First of the baby courgettes.

m_DSC_2443

The first of the bullet-like green strawberries have formed.

m_DSC_2438

The strawberries in the grow bags are a bit more advanced so hopefully they will be ready to go with Champagne and cream in time for Wimbledon…

m_DSC_2439

Self propagated raspberries – glad I didn’t pull them out as there is a lot of fruit showing on them.

m_DSC_2445

Peas – plenty of flowers on the first mini pods are forming.

Outside:

m_DSC_2452

A good crop of goosberries coming on nicely, just hoping Gooseberry sawfly leaves the bush alone this year.

m_DSC_2454

A pot full of good cuttings going on – next year’s Alaskan willow and blackcurrants.

m_DSC_2455

Kale (Shetland cabbage) and neeps.

m_DSC_2457

This is the first time we’re trying to grow Shetland cabbage but I have seen a few Cabbage Whites about today so might neet to keep an eye on these.

m_DSC_2751

Growing garlic is really easy – will post about that another time.

m_DSC_2748

The best bit – the harvesting!

m_DSC_2760

… and enjoying your crops on your plate.

m_DSC_2610

… and also getting some cut flowers.

m_DSC_2777

… and seeing the wildlife too!


How to make Natural Cough Syrup

I have never been keen on standard cough mixtures from a pharmacy as to me they taste unpleasant and I think they is full of weird stuff… Since we were tiny, when ill and suffering from cough or sore throat, we were given plantain cough syrup which always seemed to do the trick. And if you make your own it’s almost free and super easy too… So start stocking up your cupboard with natural remedies in preparation for winter ailments today! m_DSC_2531 The plantain is a common broadleaf “weed” that we should eat, not kill. This perennial vegetable is free for the picking and packs an amazing amount of nutrition. Full of calcium and vitamin A, plantains also provide vitamins C & K. The plantain also has many amazing healing properties. It can heal your gut, is used as a gentle expectorant for coughs, soothes an insect bite or a rash, heals cuts and it draws toxins from the body with its astringent nature. Source: Wild Edible and Medicinal Plants There are about 200 species of plantain found all over the world, growing in many different habitats but most commonly in wet areas like seepages or bogs. They can also be found in alpine and semi-alpine or coastal areas.  m_DSC_2700 In Shetland I think I’ve seen two or three different species and they all have the same medicinal properties. For making the syrup I use ribwort plantain (Plantago lanceolata) which frequently grows at the side of roads. It’s not a good idea picking herbs at sides of busy roads but in Shetland I think there are plenty quiet roads where the plants should be ok and not affected by pollution. m_DSC_2710 To make the syrup you need about three large handfuls of plantain, two cups of granulated sugar and a large jar. Wash the leaves and chop them finely. Put approximately 1cm of the leaves in the bottom of the jar and add the same depth of sugar and repeat. Compress the mix, seal the jar and leave it on a sunny wondowsill until it’s turned into a liquid, then strain through a muslin cloth or tea towel and store in jars or small bottles. m_DSC_2717 The syrup will keep for up to a year if stored in a cool dark place or in the fridge. When suffering from a cold or respiratory ailment take a tea spoon three times a day or you can add the syrup into your tea. m_DSC_2740

Nettle Soup

If you enjoyed reading about nettles yesterday here’s a delicious recipe for you to try.

Nettle soup is eaten mainly during spring and early summer, when young nettle leaves are available.

m_DSC_2462

Nettle Soup:

A mixing bowl full of freshly picked washed nettles

1 large onion

4 medium sized potatoes

1/2 celeriac (optional)

1 vegetable stock cube

Herbs – whatever fresh herbs you have to hand. I used parsley, chives and dill.

1/2 cucumber or 2 large slices of pickled sliced cucumber (optional)

1 tbs olive oil

Salt and pepper

Sour cream or yoghurt

m_DSC_2466

1. Peel the potatoes and celeriac and cut into small pieces. Boil for 15 minutes or until soft.

2. Chop the onion finely and fry in olive oil.

3. Drain the potatoes and celeriac and add them to the onions. Add salt and pepper.

4. Remove the leaves from the nettles and add them into the pot discarding the stems as they can be stringy.

5. Add finely chopped herbs and cucumber if you are using it.

6. Add a pint of boiling water and the stock cube (it’s better if you crumble it in the pot as it dissolves better)

7. Boil for three minutes, take the pot off the heat and whizz it up with a hand blender.

8. Serve with yoghurt or sour cream and fresh crusty bread.

m_DSC_2473

m_DSC_2483

Bon Apetit!


Nettles

People think nettle (Urtica dioica) is a stingy, upleasant weed that grows everywhere. But the truth is nettles are very nutritious, full of vitamins, have brilliant medicinal properties and are brilliant detoxifiers. In fact nettles are my seasonal superhero. And as long as you wear gloves nettles are easy to harvest and prepare too. And they are free… And don’t worry, they won’t sting your tongue!

DSC_1613

For the past couple of months I’ve been using freshly harvested raw nettles for making nettle tea and for adding in my morning smoothies almost daily. Probably most people think I’m crazy but I just can’t seem to get enough of this wonderful health-boosting herb. I wonder if it is addictive… 

Stinging nettle is: diuretic, astringent, pectoral, anodyne, tonic, rubefacient, styptic, anthelmintic, nutritive, hermetic, anti-rheumatic, anti-allergenic, decongestant, expectorant, anti-spasmodic, and anti-histamine, anti-lithic/lithotrophic, herpetic, galactagogue, and an anti-histamine… Not bad for a weed!

DSC_1702

Every spring my body seems to crave nettle tea. But the beginnings weren’t easy. Generally I love most herbal teas but at the beginning I really struggled with nettle. I thought it tasted like straw and if the tea went cold it would turn black and taste really unpleasant. Initially I was only interested in the detoxifying properties but there’s so much more to the humble nettle…

m_DSC_1628

In case you don’t fancy picking and drying your own nettles you can opt for the easy option – Scoop Wholefoods stocks nettle tea and so does Healthcraft.

m_DSC_2423

Nettle tea has the potential to help with the following ailments:

  • Stimulates the lymph system to boost immunity
  • Relieves arthritis symptoms
  • Promotes a release from uric acid from joints
  • Helps to support the adrenals
  • Promotes milk production in lactating women
  • Relieves menopausal symptoms
  • Helps with menstrual cramps and bloating
  • Helps with respiratory tract disease
  • Supports the kidneys
  • Helps asthma sufferers
  • Reduces inflammation
  • Minimizes skin problems
  • Lessens nausea
  • Cures the common cold

Source: http://www.consciouslifenews.com

m_DSC_2382

And if you feel tired or your body needs a boost I’d recommend trying to add nettle in you morning smoothie. It will definitely not make it look attractive but I like the taste and I think you can almost feel the energy running through your veins just smelling the mix. My favourite combination is mango, watermelon, blueberries and nettle.

m_DSC_2164

And guess what – your plants will love nettles too. To make a brilliant fertiliser with good amounts of nitrogen, iron, magnesium and sulphur simply put freshly cut nettles (remove roots) in a bucket, use a large flat stone to keep the foliage down, fill it with water and leave it to ‘brew’ for a few weeks. But I need to warn you – the solution smells really unpleasant and you certainly don’t want to get it on your hands or clothes. Alternatively you can use the plants to activate your compost. 

m_DSC_2370

– How to use it: Mix the solution with water in a proportion of 1 : 10 (one part nettle solution to ten parts water). Pour the solution directly at the base of the plants where the roots will have quick use of it.

– This “tea” is meant as a supplemental feeding for plants that have a high demand for nourishment, such as tomatoes, leeks, brassicas, cucumbers and courgettes.

There are other things that will appreciate the stinging nettle tea: fruit trees and bushes, roses, annuals and perennial flowering plants.
** It is NOT meant to supplement such plants as onions beans and peas. (source: www.gardenstew.com)

Tonight’s tasks

Tonight is exactly the sort of night you just don’t want to finish. It is a completely still, sunny night with mist gently rolling in to slowly bring this glorious day to an end. After an hour in the garden (I’m writing this at 9.25pm) the sun is still out but hidden behind a curtain of mist and looking out of the window everything looks golden sort of milky…

Anyway, seated comfortably at the kithen table, listening to Enigma and sipping a refreshing cup of Earl Grey with lemon I’m just going to write briefly about tonight’s tasks in the garden. Before I start let me say that this year I decided to be orgaised and keep on top of weeding by spending a little time in the garden every day, even if the weather isn’t good. This should make everything much easier and I shouldn’t be faced with weeding through a jungle every so often which can be a very daunting task.

So the start to this resolution tonight’s tasks were weeding around the raspberry canes, red and black currant bushes and strawberries, putting some fruit fertiliser down and mulching around the bushes with bark and straw.

m_DSC_2090

Raspberry canes mulched with straw – this should help to supress the weeds and keep moisture in.

m_DSC_2099

Black currant berries to be…

m_DSC_2103

These gooseberries turn dark red when they are ripe and taste like honey. Can’t wait for them and just love the feeling when they burst in your mouth…

m_DSC_2125

After pruning the black and red currant, I put some organic fruit fertiliser down and mulched around the bushes with bark. The bushes look really lovely and happy now.

m_DSC_2121

Strawberries with fresh bed of straw.

m_DSC_2116

Supervised by the neighbour in the park next door… we even use grass clippings to mulch around tatties which saves having to earth them up and keeps those pesky weeds out.

m_DSC_2128

The perfect night for weeding and actually enjoying the garden.

m_DSC_2093

Beautiful chives flowers about to open – they lovely in the house too, instead of expensive cut flowers.

m_DSC_2147

In the polytunnel – hoping for some beetroots this year as last year the crop wasn’t great…

m_DSC_2134

Delicious, sweet-tasting peas time soon!

m_DSC_2153

And after all this enjoyment, fresh air and sunshine it is time to turn in, make a cup of tea and relax.


Polytunnel

I love our polytunnel. In fact it is called a solar tunnel as it is more sturdy than standard polytunnels and the plastic cover is double-layered with mesh reinforcement which is perfect for Shetland conditions. The benefit of having a solar tunnel is that it allowed us to extend the growing season by several months and if you are organised and plan well you could have a supply of greens throughout the winter. m_DSC_1698

Very pleased with the end of April pickings – delicious flat leaf parsley and juicy radishes.

m_DSC_1902

I think strawberries from the polytunnel don’t taste as nice as those grown outside but they ripen much earlier.

m_DSC_2072

End of May – peas are looking good and so is garlic. Unfortunately not much success with carrots or beetroots yet as something seems to be eating the young seedlings and I still haven’t found out what it is… Will keep trying though!

m_DSC_1908

Can’t get enough of these delicious salad leaves. A little tip – instead of growing salad from seed, which can be time consuming and not always successful, I buy ‘growing salad’ from Coop which costs approximately £1.00 and you get a huge number of young plants. After carefully separating them I plant them in a tray or straigh in the ground and after a week or two all you need to do is cut the leaves and wait for more to grow – simples!

m_DSC_1916

Someting for the eyes, the nose and the bees too… and delicious with lamb – rosemary – one of my favourite herbs. In fact I’m addicted on rosemary essential oil and I use it on my skin or to perfume the house. Just add a couple of drops in a bucket of water to wash the floors and you’ll be amazed with the result.

m_DSC_2078

Can’t wait for some delicious sweet peas! In fact I don’t think I’ll get a chance to enjoy many as my son Jan loves them and pretty much devours the lot.

m_DSC_2082

And lastly – some of today’s pickings – sage. The plan is to dry the leaves and use them in my own herbal tea blend – but more about that another time.


So if you have a small space in your garden I’d thoroughly recommend getting yourself a solar tunnel or even the Polycrub – the Shetland version of a polytunnel developped by Nortenergy Ltd

Rhubarb, ginger and orange jam

Last week Marian Armitage, who is currently writing a Shetland cook book, came to the office to speak about her ideas for A Taste of Shetland blog since she is one of the contributors. Marian is a Shetland but funnily I met her in London last May, at A Shetland Night in London. And since then we’ve kept in touch.

One of Marian’s posts on A Taste of Shetland was about making the best of the glut of rhubarb at this time of year and making Rhubarb, Ginger and Orange Jam which sounded delicious. The great thing was that Marian brought a jar of her jam with her so I had a chance to taste it. Orange peel makes a lovely addition to the preserve and since there is still plenty rhubarb in the garden and I like the idea of ‘free’ food I decided to make my own batch.

Unfortunately I didn’t have stem ginger which the recipe calls for so I decided to use fresh ginger. I think I should have cooked the jam for longer than just 20 minutes as it turned out quite runny and hasn’t set properly but it tastes delicious and it will be perfect for using in puddings or eating with youghurt. Will keep trying though as practice makes perfect…

m_rhubarbjam


Makes 10 Jars

Ingredients:

  • 2kg rhubarb, 1cm chunks

  • 2kg granulated sugar

  • inch long piece of root ginger, peeled and  julienned

  • zest of one orange, thin strips

  • vanilla powder (optional)

Method:

  1. Tip the rhubarb pieces into a large bowl, along with the sugar, ginger and vanilla powder.

  2. Leaving the mixture sit for 2 hours, turning with a spoon every 30 minutes.

  3. Once most of the sugar has dissolved, tip the contents of the mixing bowl into a large sauce pan and bring to a brisk boil.

  4. Boil the orange peel in a small amount of water for 20 minutes, strain and add to the rhubarb mixture.
  5. Turn the heat down and simmer for approximately 40 minutes, until the rhubarb has broken down.

  6. Transfer the jam into sterilised jars, seal and leave to cool. Store in a cool dark place, once open in the fridge.


Pickled Rhubarb

My rhubarb plant.

My rhubarb plant.

I love experimenting with rhubarb as it is very versatile. When I was going through some cook books whilst enjoying a cup of tea and some sunshine I came across an interesting pickled rhubarb recipe in one of my favourite books about food preserving called ‘Salt Sugar Smoke’ by Diana Henry. The book is absolutely stunning and really inspiring so I decided to try the recipe out.

Researching recipes at the back step and soaking up some sunrays.

Researching recipes at the back step and soaking up some sunrays.

Here’s the recipe (which I slighly adjusted):

4 stalks of rhubarb (preferably forced as the stalks are more tender and really pink), 600 ml white wine vinegar (I used red as that was all I had), 1,100g granulated sugar, 1 small cinnamon stick, 4 whole cloves (since I really like cloves I used 10).

1. Heat the vinegar, sugar and spices in a saucepan until the sugar dissolves.

2. Cut rhubarb into pieces and poach briefly (approximately 2 minutes but keep an eye on it so it doesn’t become too soft which can happen very quickly).

3. Spoon the rhubarb into sterilised jars and cover. Wait until the vinegar sirup cools down and pour it in the jars. Seal and store in a cool dark place.

DSC_1973Pickled rhubarb is apparently delicious with mackerel, pâté or pork. I’ll leave it to mature for a week or so before trying it out. Perhaps with grilled goats cheese and toasted sourdough bread… yummy!